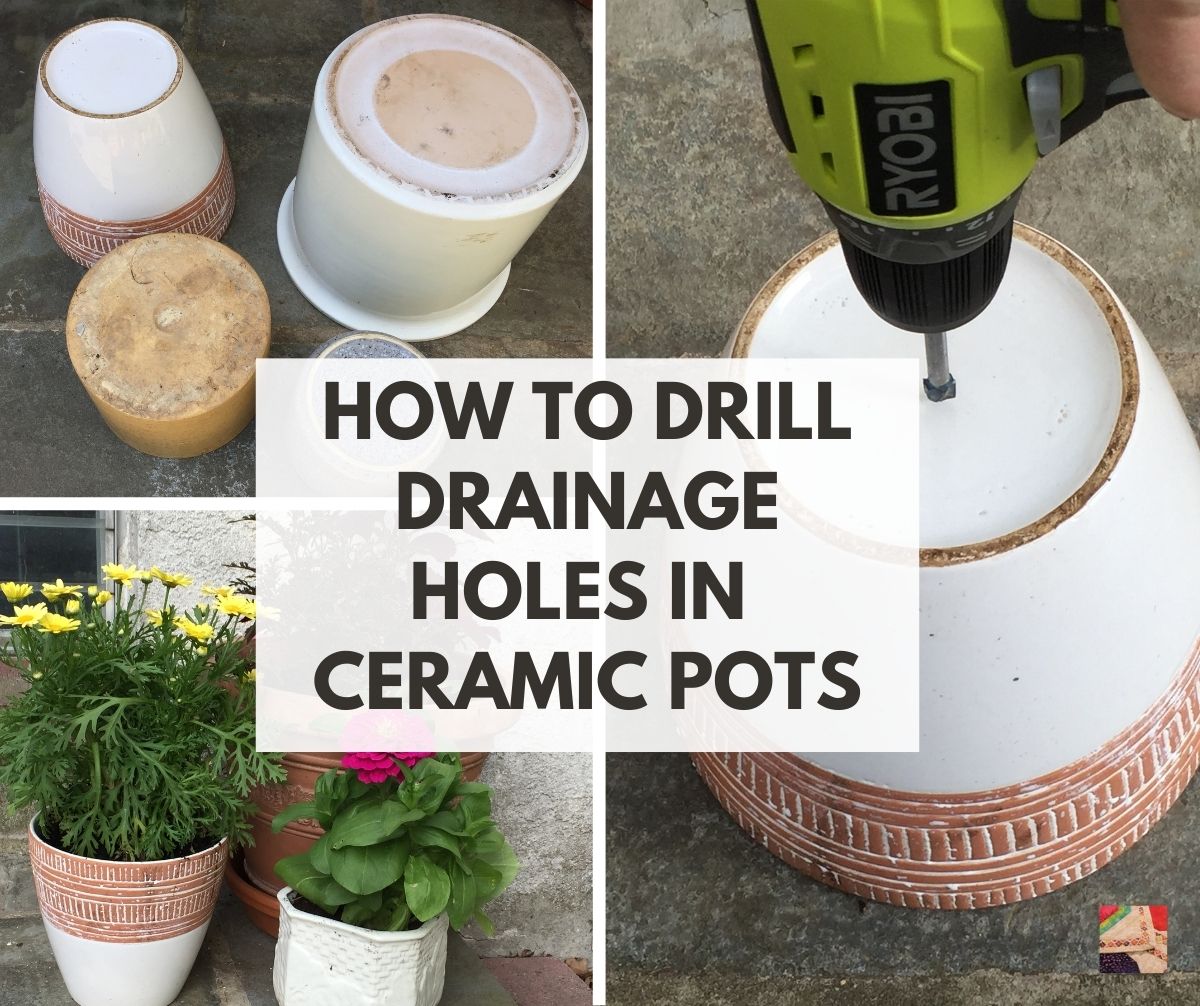
How to Drill Drainage Holes in Ceramic Pots
If your ceramic pots don’t have drainage holes, water can build up in the bottom of the pot and lead to root rot. To drill drainage holes in a ceramic pot, you’ll need a masonry bit and a drill. First, mark where you want to drill the holes with a pencil.
Then, put on safety glasses and ear protection. Hold the pot firmly with one hand while you drill into it with the other. Start slowly and increase speed as needed.
Once you’ve made it through the glaze, slow down again so you don’t crack the pot. When you’re finished drilling, brush away any debris from the holes and rinse out the pot.
- Decide where you want the drainage holes to be
- Using a drill bit that is slightly smaller than the diameter of your dowel, make a pilot hole in the center of each mark
- Make a second set of pilot holes around the edge of each pot, about 1/2″ from the rim
- Insert the dowel into each pilot hole and twist back and forth until it breaks through the other side
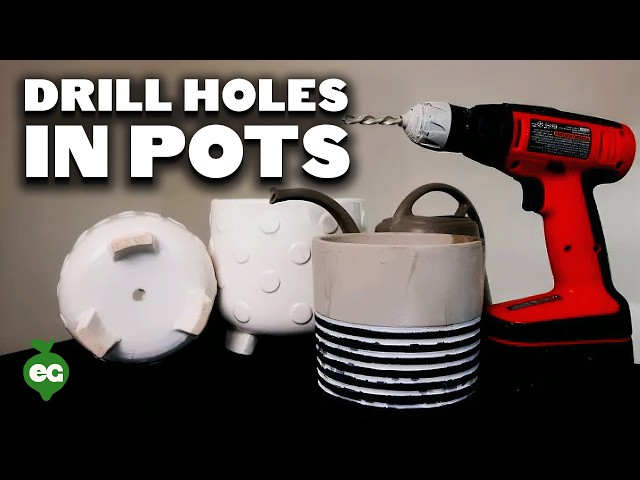
Drill Drainage Holes in Pots WITHOUT Breaking Them! (Foolproof Method)
Can You Drill Drainage Holes in Ceramic Pots?
If you’re looking to add drainage holes to a ceramic pot, there are a few things you’ll need to take into account. First, it’s important to make sure that your drill bit is smaller than the drainage hole you’re looking to create. If not, the bit may slip and cause damage to the pot.
Second, it’s a good idea to use a piece of tape or another marker to help guide your drill bit as you start drilling into the pot. This will help ensure that the hole is evenly spaced and won’t be too large or small. Finally, go slowly and carefully when drilling into the pot – if you apply too much pressure, you could crack or break the ceramic.
With these tips in mind, drilling drainage holes in a ceramic pot should be relatively easy and straightforward. Just be patient, take your time, and use caution – and your newly-drilled pots will be ready for planting in no time!

How Do You Drill Holes in Ceramic Pots Without Breaking Them?
When it comes to drilling holes in ceramic pots, there are a few things you need to keep in mind to avoid breaking them. First, make sure you use a sharp drill bit that is designed for drilling through ceramic. Second, go slowly and apply gentle pressure when drilling.
Third, use water to cool down the pot as you drill to prevent it from cracking. Finally, be careful not to apply too much pressure when removing the drill bit from the pot.
If you follow these tips, you should be able to successfully drill holes in ceramic pots without breaking them.
What Drill Bit is Needed for Ceramic Pots?
There is no one-size-fits-all answer to this question, as the type of drill bit needed for ceramic pots will vary depending on the specific pot and the material it is made from. However, in general, a carbide or diamond tip drill bit is recommended for drilling through ceramic. These types of drill bits are designed to withstand the high temperatures and wear that can occur when drilling through hard materials.
How Do You Make a Drain Hole in Ceramic?
One way to make a drain hole in ceramic is to use a drill. First, find the center of the area where you want the drain hole. Then, using a sharpened bit, start drilling at a low speed.
Apply even pressure as you drill and be careful not to crack the ceramic. If the bit starts to wander, stop and reposition it before continuing. Once you’ve drilled through the ceramic, switch to a slightly larger bit and finish drilling the hole.
Credit: www.youtube.com
How to Drill Drainage Holes in Plastic Pots
If you’re growing plants in plastic pots, it’s important to drill drainage holes in the bottom of the pot. This will allow excess water to drain out of the pot and help prevent your plants from becoming overwatered. Here’s a step-by-step guide to drilling drainage holes in plastic pots:
1. Gather your supplies. You’ll need a power drill, a sharp drill bit (a spade bit works well), and a piece of scrap wood.
2. Place the plastic pot on top of the scrap wood.
This will help prevent the drill bit from slipping and damaging the pot.
3. Center the drill bit over where you want to make the drainage hole and start drilling slowly. Apply even pressure as you drill through the plastic.
4. Once you’ve made it through all of the plastic, stop drilling and remove the pot from the scrap wood. Use a sharp knife or scissors to trim away any rough edges around the hole.
5. Your drainage hole is now complete!
Place your plant in its new pot and enjoy!
Conclusion
If you’re looking to add drainage holes to a ceramic pot, there are a few things you’ll need to keep in mind. First, make sure you have the right tools for the job. A good quality drill is essential, as is a sharp bit designed for drilling through ceramic.
You’ll also want to make sure your pot is securely supported before starting to drill.
Once you have your supplies gathered, mark where you want the drainage holes to go with a pencil or pen. Then, begin drilling slowly and carefully, applying even pressure as you go.
It’s important not to try and drill too quickly, as this can cause the ceramic to crack. If your pot does start to crack, stop immediately and consult with an expert before continuing.
With patience and care, it’s easy enough to drill drainage holes into a ceramic pot yourself!
Just be sure to take your time and use the proper tools for best results.