How To Glaze And Fire Pottery At Home
Pottery glazing is a fascinating and creative process that adds beauty and functionality to ceramic pieces. Whether you’re a beginner or an experienced ceramic artist, learning how to glaze and fire pottery at home opens up a world of possibilities. In this article, we will guide you through the step-by-step process of glazing and firing your pottery to achieve stunning results.
1. Introduction
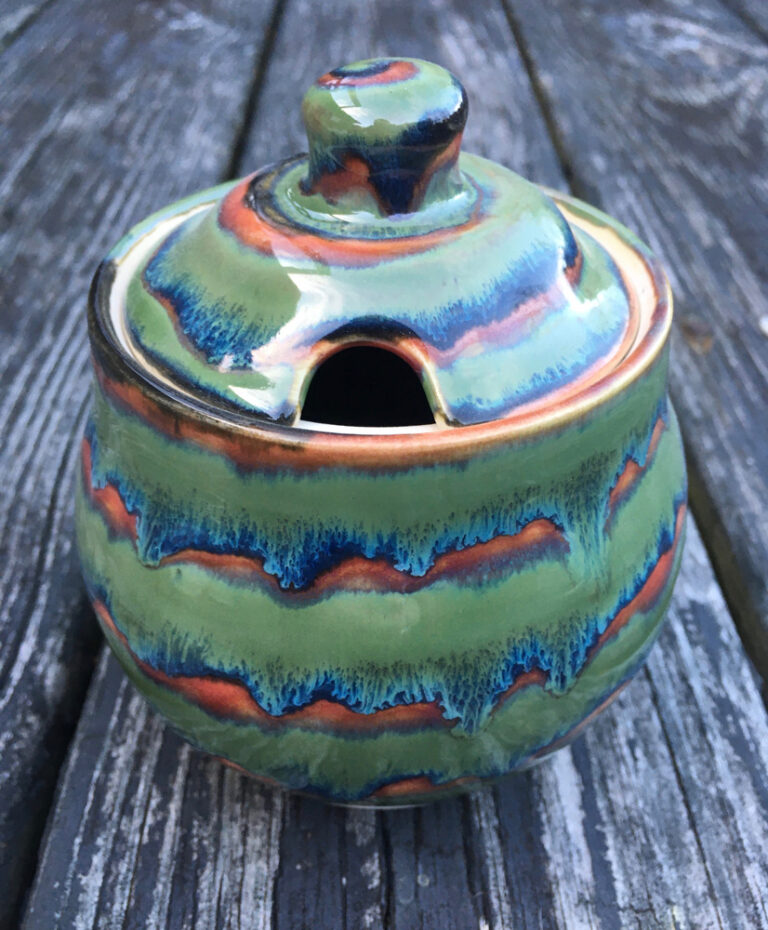
Pottery glazing is the final step in the ceramic-making process. It involves applying a layer of glaze, a mixture of minerals and chemicals, to the surface of the pottery. Glazes not only enhance the appearance of the ceramic piece but also provide a protective coating and create various visual effects when fired.
2. Understanding Glazing
What is glazing?
Glazing is the process of coating pottery with a glaze material and then firing it in a kiln. The glaze is a mixture of powdered minerals and chemicals that melts and fuses with the clay body during firing, forming a glass-like surface.
Importance of glazing
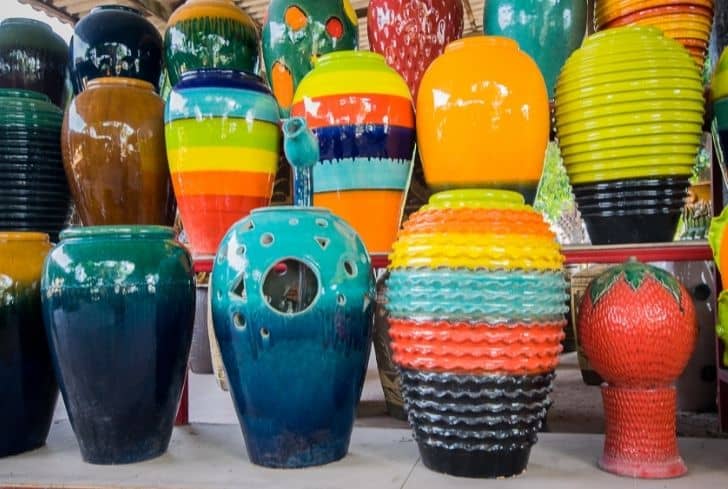
Glazing is crucial for several reasons. It seals the porous clay body, making it impermeable to liquids. It enhances the aesthetic appeal of the pottery by adding colors, textures, and patterns. Glazes also provide a protective layer that makes the pottery more durable and resistant to stains and scratches.
Types of glazes
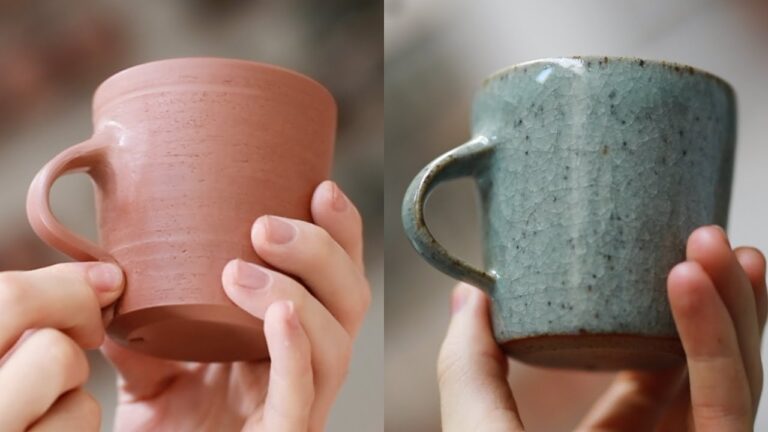
There are various types of glazes available, including transparent glazes, opaque glazes, matte glazes, and glossy glazes. Each type has its own unique properties and effects when fired. Experimenting with different glazes allows you to create diverse finishes and styles.
3. Preparing Pottery for Glazing
Before glazing, it’s essential to prepare your pottery properly to ensure a successful outcome.
Clay preparation
Start by creating or selecting a suitable clay body for your project. Wedge and knead the clay to remove air bubbles and achieve a consistent texture. Shape the clay into your desired form, whether it’s a bowl, vase, or sculpture. Allow the pottery to dry until it reaches a state called “leather-hard.”
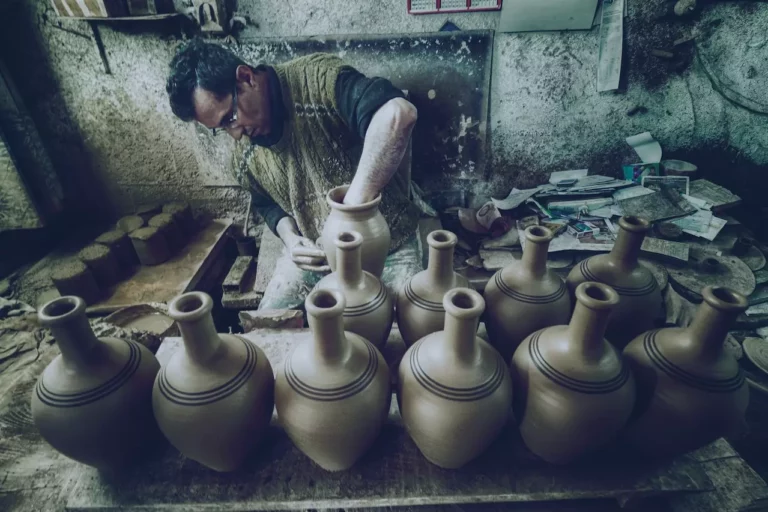
Bisque firing
To prepare the pottery for glazing, it needs to go through a process called bisque firing. Bisque firing involves heating the pottery in a kiln to a specific temperature that drives out any remaining moisture and makes the clay hard and durable. Once bisque-fired, the pottery is ready for glazing.
4. Glazing Techniques
There are several glazing techniques you can use to apply glaze to your pottery. The choice of technique depends on the desired effect and the size and shape of your piece.
Brushing
Brushing is the most common glazing technique. It involves using a brush to apply the glaze directly onto the pottery’s surface. Brushing allows for precise control and creates clean lines and textures.
Dipping
Dipping involves submerging the pottery into a container filled with glaze. This technique is suitable for larger pieces or when you want an even, consistent coat of glaze.
Spraying
Spraying is a technique that involves using an airbrush or spray gun to evenly distribute the glaze over the pottery’s surface. It allows for a more controlled application and creates a smooth finish.
5. Applying Glaze
When applying glaze, several factors need to be considered to achieve the desired results.
Choosing the right glaze
Selecting the right glaze is crucial for achieving the desired effect. Consider factors such as the firing temperature, compatibility with the clay body, and the desired color and finish. Experiment with different glazes to discover unique combinations and effects.
Tools and materials
Gather the necessary tools and materials, including brushes, containers for dipping, spray guns or airbrushes for spraying, and glaze mixing supplies. Ensure that your tools are clean and free from any previous glaze residues to prevent contamination.
Glaze application tips
Apply the glaze evenly and avoid excessive thickness to prevent drips and uneven firing. Pay attention to areas that may collect glaze, such as corners and edges. Allow the glaze to dry before firing to avoid any unwanted reactions during the firing process.
6. Firing Pottery
Firing pottery is the final step that transforms the glazed pottery into a finished ceramic piece.
Kiln types and firing process
There are various types of kilns available, including electric kilns, gas kilns, and wood-fired kilns. Follow the manufacturer’s instructions for loading the kiln and setting the appropriate firing program based on the type of clay and glaze.
Firing temperatures
Different types of clay and glazes require specific firing temperatures. It’s essential to know the recommended temperature range for your materials to achieve the desired results. Monitor the kiln temperature throughout the firing process to ensure accurate and controlled firing.
Safety precautions
When firing pottery, it’s important to take safety precautions. Wear appropriate protective gear, such as heat-resistant gloves and goggles. Ensure proper ventilation in the kiln area and keep flammable materials away from the kiln. Follow the safety guidelines provided by the kiln manufacturer.
7. Troubleshooting and Tips
Glazing pottery can sometimes present challenges. Here are some common issues and solutions to help you troubleshoot:
Common glazing issues
- Pinholes and bubbles in the glaze
- Uneven or patchy glaze
- Glaze crawling or cracking
Solutions and tips
- Sieve glazes to remove impurities
- Apply multiple thin coats of glaze
- Adjust glaze thickness and application techniques
- Experiment with different firing schedules and temperatures
8. FAQs
Q: Can I glaze pottery without a kiln?
A: Glazing pottery requires firing it in a kiln to achieve the desired results. Without a kiln, the glaze will not properly fuse with the clay and won’t create a durable finish.
Q: Can I mix different glazes together?
A: Yes, you can mix different glazes to create unique effects. However, it’s important to ensure compatibility between the glazes and conduct test firings to observe the results before applying them to your pottery.

Q: How long does it take to fire pottery?
A: The firing time can vary depending on the size of the pottery, the kiln type, and the firing program. It can range from several hours to multiple days, considering the heating, cooling, and any additional processes such as reduction or oxidation.
Q: Can I glaze pottery with regular paint?
A: No, regular paint is not suitable for glazing pottery. Glazes are specially formulated to withstand high temperatures and fuse with the clay during firing.
Q: How do I clean my glazing tools?
A: Clean your glazing tools by washing them with water immediately after use. Remove any dried glaze with a brush or sponge. Avoid using the same tools for different glazes to prevent contamination.
9. Conclusion
Glazing and firing pottery at home is a rewarding and creative process that allows you to transform your ceramic pieces into unique works of art. By understanding the fundamentals of glazing, preparing your pottery correctly, and applying glazes with care, you can achieve beautiful and professional results. Remember to always follow safety guidelines and experiment with different techniques and glazes to unleash your creativity.