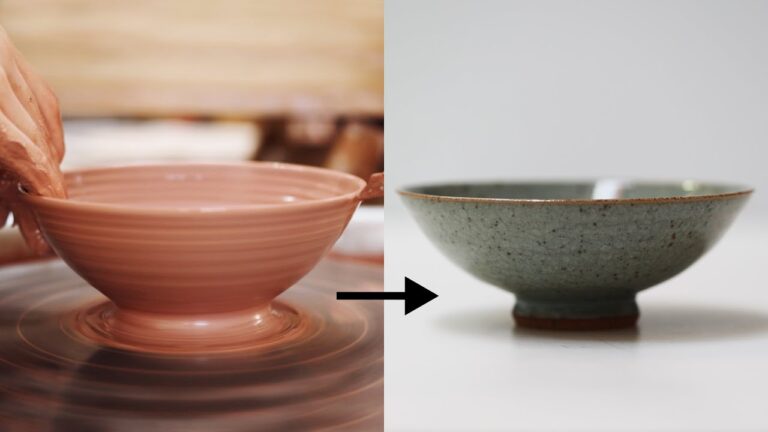
How to Make a Ceramic Teapot Lid
If you have ever lost or broken the lid to your teapot, you know how frustrating it can be. You can’t use your teapot without a lid, and replacement lids can be expensive. Fortunately, it is possible to make your own ceramic teapot lid with just a few supplies.
All you need is a piece of clay, some tools to shape the clay, and a kiln to fire the clay. With a little time and effort, you can have a brand-new teapot lid that looks just like the original.
- Preheat oven to 375 degrees F (190 degrees C)
- In a small bowl, stir together 1/4 cup (59 ml) of water, 1 tablespoon (15 ml) of white vinegar, and 1 teaspoon (4
- 9 ml) of salt until the salt is dissolved
- Brush the mixture onto the top surface of the teapot lid with a pastry brush
- Be sure to get into all the nooks and crannies
- Place the teapot lid upside down on a wire rack set inside a baking pan
Making a Teapot: Making a Lid
How Do You Repair a Ceramic Teapot Lid?
When it comes to repairing a ceramic teapot lid, the most important thing is to make sure that the pot is clean and dry before starting. If there are any cracks or chips in the lid, you will need to use a fine-grit sandpaper to smooth them out before proceeding. Once the surface is prepped, you will need to apply a thin layer of adhesive designed for ceramic repair.
Use a toothpick or other sharp object to help spread the adhesive evenly over the surface of the lid. Be sure to cover all of the cracks and chips completely. Allow the adhesive to dry according to the manufacturer’s instructions before moving on.
Once the adhesive is dry, it’s time to start painting! You will want to use a paintbrush or small roller designed for ceramic painting projects. Begin by applying a thin layer of paint over the entire surface of the lid.
Be sure to get into all of nooks and crannies. Allow this first layer of paint to dry completely before moving on; depending on your paint, this could take anywhere from an hour up to overnight.
Once your first layer of paint is dry, apply a second coat if necessary (again, depending on your chosen paint).
Once you’re satisfied with coverage, allow the final coat(s) of paint to cure accordingto t he manufacturer’s instructions – typically this means waiting at least 24 hours after painting before using or washing your teapot lid. And that’s it!

How Do You Make Clay Lids?
Clay lids are a great way to seal up jars and containers. They are easy to make and can be customized to fit any size jar or container. Here is a step by step guide on how to make clay lids:
1. Start with a ball of clay that is about the same size as the jar or container you want to cover.
2. Flatten the ball of clay into a disc shape that will fit over the top of the jar or container.
3. Use your fingers or a rolling pin to smooth out the edges of the disc so that it fits snugly over the top of the jar or container.
4. Make a small hole in the center of the disc for air to escape when you put the lid on tight.
5. Place the lid on top of the jar or container and screw on tight. The air hole will allow pressure to equalize so that your lid does not pop off when sealing tightly.
How Do You Build a Slab for a Teapot?
When it comes to building a slab for a teapot, there are a few things you need to keep in mind. First, you need to make sure that the surface you’re working on is level and smooth. If it’s not, your teapot may not sit evenly on the table, which can cause problems when trying to pour hot water into it.
Next, you’ll want to measure out the size of your teapot base and mark it off on the surface you’re working on. Then, using a straight edge or ruler, draw lines connecting the marks so that you have a square or rectangle outline. Once you have your outline drawn, use a sharp knife or box cutter to score along the lines – this will help ensure that your slab breaks evenly when you’re ready to break it apart.
Now it’s time to mix up your concrete according to the directions on the package. Once it’s mixed, begin filling in the square or rectangle outlined earlier. Be sure not to overfill – stop just below the edges of your markings so that there’s room for the teapot base to sit flush with the top of the slab once it dries.
Finally, allow your concrete slab to dry completely before placing your teapot onto it. And that’s all there is to it! With just a little bit of planning and effort, you can easily create a custom-made concrete tea pot stand that will last for years.
How Do You Make Pots Out of Lid Pottery?
Pots out of lid pottery are a type of pottery that is made by using the lids of pots as the base for new pots. This type of pottery is usually made by people who are trying to recycle old pots and lids, but it can also be made by anyone who wants to create unique and interesting pots. To make a pot out of lid pottery, you will need an old pot with a lid that is big enough to be used as the base for a new pot.
You will also need some clay, a rolling pin, and a knife.
First, start by cutting the top off of the old pot with the knife. Next, use the rolling pin to flatten out the clay until it is about ½ inch thick.
Then, cut a circle out of the clay that is slightly bigger than the lid of the old pot. Place the clay circle on top of the lid and press it down so that it sticks. Use your fingers to smooth out any rough edges on the clay circle.
Now it’s time to start decorating your new pot! You can use any design or pattern that you want – there are no rules when it comes to making pots out of lid pottery! Once you have finished decorating your pot, set it aside to dry for 24 hours before adding water or plants.
Credit: www.youtube.com
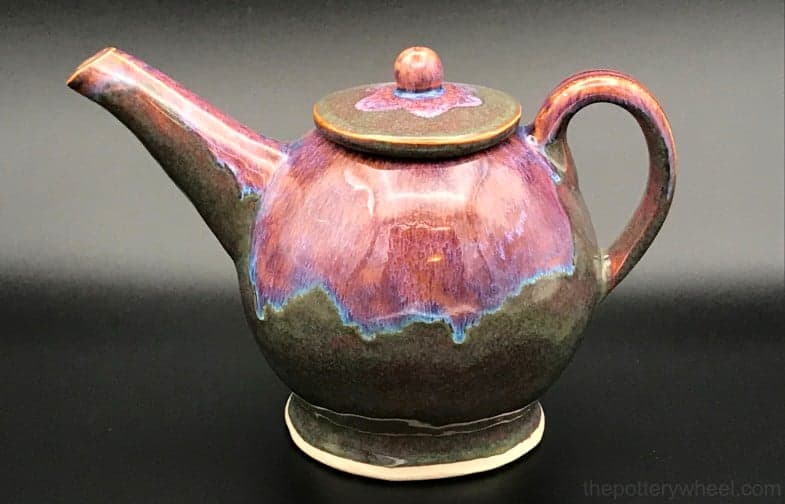
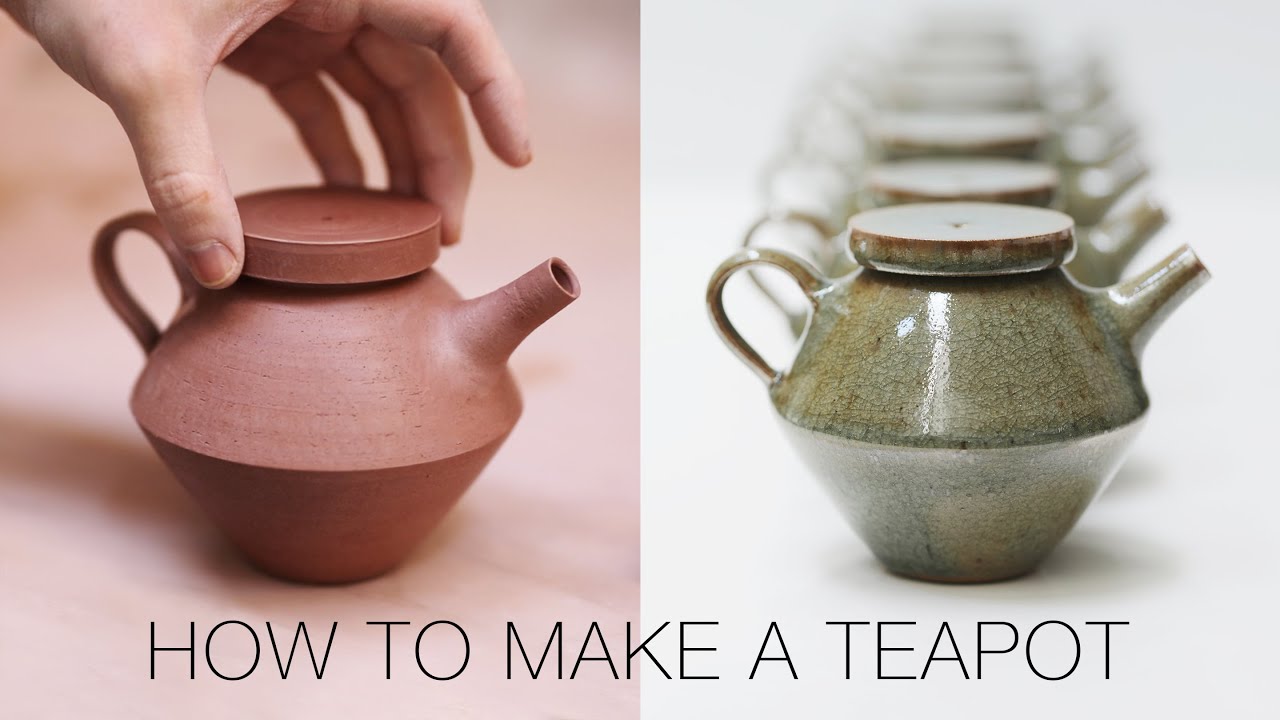
How to Make a Ceramic Teapot by Hand
When it comes to tea, there are few things more iconic than the teapot. Whether you’re a diehard tea lover or simply enjoy the occasional cup, there’s something special about making and drinking tea from a teapot. While you can certainly find plenty of teapots on store shelves, there’s nothing quite like a handcrafted ceramic teapot made by your own two hands.
If you’ve ever wondered how to make a ceramic teapot by hand, wonder no more! We’ve put together a step-by-step guide that will walk you through the process from start to finish. So grab some clay and get ready to get your hands dirty – it’s time to make your very own ceramic teapot!
Step 1: Start with a ball of clay about the size of a grapefruit. If you don’t have any clay on hand, you can purchase it online or at your local craft store.
Step 2: Using your hands, begin shaping the ball of clay into an oval shape.
This will be the bottom half of your teapot.
Step 3: Once you have an oval shape, use your thumb to create an indentation in the center of the oval. This will be where the spout of your teapot will go.
Step 4: To create the sides of your teapot, begin pinching and pulling the clay outward until it is about ½ inch thick all around.
5: Now it’s time to add handles! Take two small pieces of clay and attach them to either side of your teapot using slabs of wet clay as glue.
Allow them to dry overnight.
6: The next day, use a sharp object (we recommend an X-ACTO knife) to cut out two small circles in the top half of your teapot for steam holes. Make sure they are big enough for steam to escape but not so big that hot water will pour out when you pour it in!
7: Your teapot is now ready for firing! Place it in a kiln or oven set to 2200 degrees Fahrenheit and allow it to bake for about 2 hours. Once it has cooled completely, congratulations – you’ve just made yourself a brand new ceramic teapot!
Conclusion
A teapot lid is an important part of keeping your tea hot and preventing spillage. Ceramic teapots are especially good at retaining heat, but their lids can be fragile. Here are some tips for making a ceramic teapot lid that will last.
Start with a clean surface. Make sure the inside of the pot and the rim of the lid are free of any dirt or debris. This will help the glue adhere better.
Use a strong glue. Superglue or epoxy glue will work well. Apply it to both the pot and the lid, then let it dry completely before attaching them together.
Be careful with temperature changes. sudden changes in temperature can cause ceramic to crack, so avoid putting your pot on a cold surface or in direct sunlight. Put it on a coaster or trivet when serving, and store it in a cool, dark place when not in use.