How To Make A Handmade Pottery Teapot
Pottery has been a cherished art form for centuries, and making a handmade pottery teapot can be a rewarding and creative experience. In this article, we will guide you through the step-by-step process of creating your very own unique teapot. Whether you are a seasoned pottery enthusiast or a beginner looking to explore your creativity, this guide will provide you with the necessary knowledge to make a stunning handmade pottery teapot.
Introduction
Pottery teapots are not only functional vessels for brewing tea but also works of art that can enhance your tea-drinking experience. Creating a handmade teapot allows you to infuse your own personal touch and style into the design. From choosing the right clay to adding decorative elements, each step in the process contributes to the final masterpiece. So, let’s dive into the world of pottery and learn how to make a handmade pottery teapot.
The History of Handmade Pottery Teapots
Before we delve into the process, let’s take a moment to appreciate the rich history of handmade pottery teapots. The tradition of pottery dates back thousands of years, with teapots being an integral part of many cultures. From the delicate porcelain teapots of China to the rustic stoneware teapots of Japan, each culture has its unique style and technique. By creating your own teapot, you become part of this ancient tradition and can express your creativity in a timeless art form.
Choosing the Right Clay for Your Teapot
The first step in making a handmade pottery teapot is selecting the right clay. There are various types of clay available, each with its own properties and characteristics. Porcelain, stoneware, and earthenware are commonly used for teapots. Porcelain is known for its translucent and delicate appearance, while stoneware is durable and often has a rustic charm. Earthenware clay provides a warm and earthy aesthetic. Consider the desired look and functionality of your teapot when choosing the clay.
Preparing the Clay for Pottery
Once you have chosen the clay, it’s time to prepare it for pottery. Begin by wedging the clay to remove air bubbles and ensure its consistency. This process involves kneading and compressing the clay to create a uniform texture. Wedging also helps to improve the plasticity and workability of the clay. Ensure that the clay is properly wedged before proceeding to the next step.

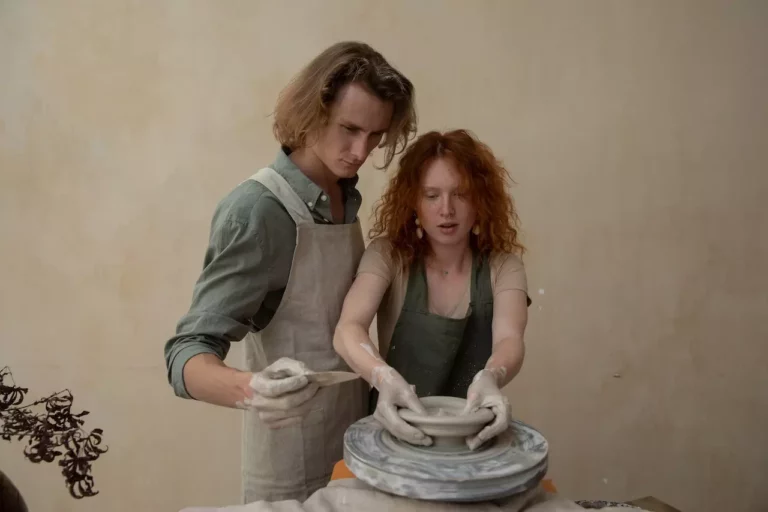
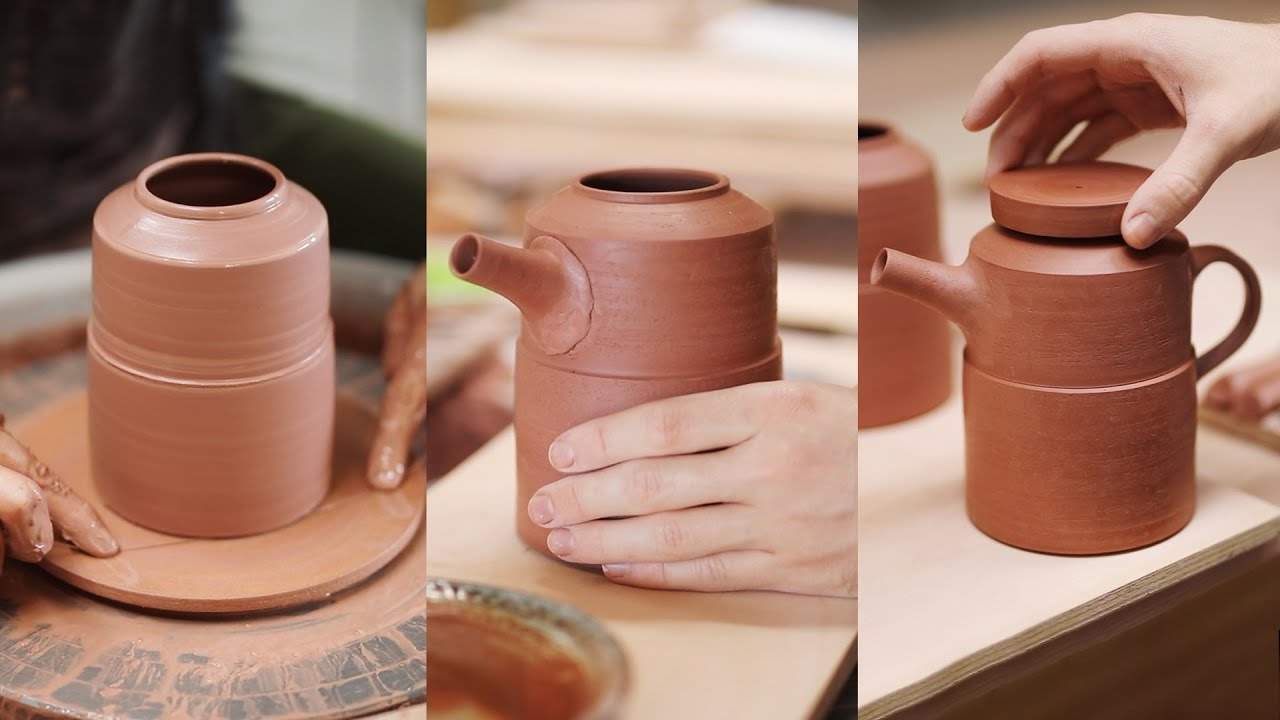
Shaping the Teapot Body
Now comes the exciting part: shaping the teapot body. Start by dividing the clay into appropriate portions for the body, lid, handle, and spout. Begin with the body of the teapot, using hand-building techniques such as coiling or slab construction. Coiling involves rolling clay into long ropes and layering them to create the desired shape. Slab construction, on the other hand, utilizes flat pieces of clay that are joined together to form the teapot body. Sculpt and shape the clay with your hands, gradually refining the form and ensuring a smooth surface.
Adding a Handle and Spout
Once the teapot body is complete, it’s time to add a handle and spout. These elements not only serve a functional purpose but also contribute to the overall aesthetic of the teapot. Attach the handle and spout securely to the body, using slip (a mixture of clay and water) as an adhesive. Pay attention to the ergonomics of the handle, ensuring it is comfortable to hold and pour. The spout should have a smooth and even flow for easy tea pouring.
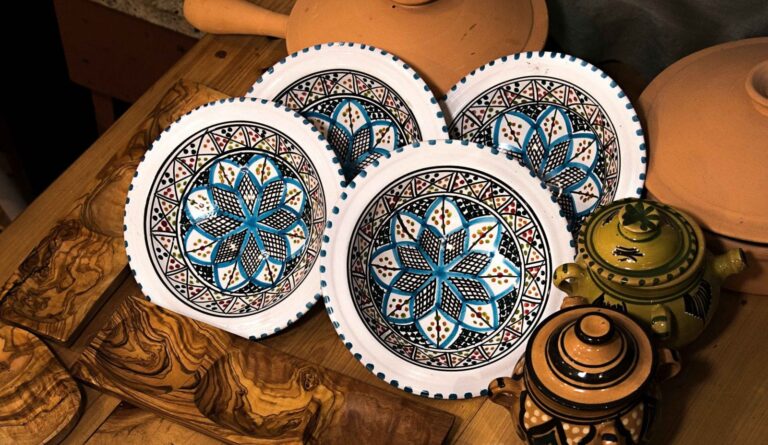
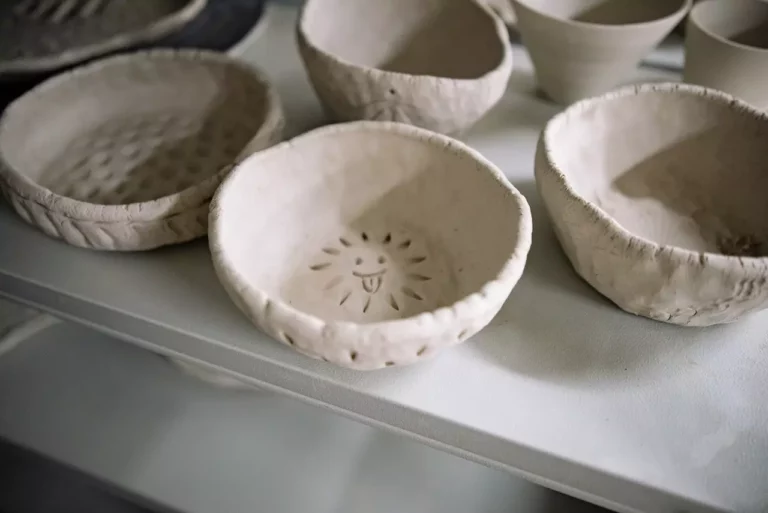
Decorating Your Teapot
Decorating your teapot is where you can truly unleash your creativity. You can incorporate various techniques such as carving, stamping, or painting to add texture and visual interest. Carving tools can be used to create intricate designs on the surface of the teapot. Stamps with different patterns can be pressed into the clay to leave impressions. Additionally, you can experiment with colored slips or underglazes to add vibrant hues to your teapot.
Drying and Firing the Teapot
After you have finished decorating your teapot, allow it to dry completely before firing. This drying process is crucial to prevent the teapot from cracking or warping during firing. Place the teapot in a dry and well-ventilated area, ensuring that all parts are exposed to air circulation. The drying time may vary depending on the thickness of the clay and ambient humidity. Once the teapot is thoroughly dry, it is ready for the kiln.
Glazing and Firing Again
To enhance the beauty and functionality of your teapot, glazing is essential. Glazes not only add a glossy finish but also make the teapot waterproof and resistant to stains. Choose a glaze that complements the design and clay body of your teapot. Apply the glaze evenly using a brush or dipping technique. Once glazed, the teapot needs to go through the firing process again. The kiln firing transforms the glaze into a glass-like surface, creating a protective layer for the teapot.
The Finishing Touches
After the final firing, it’s time for the finishing touches. Check the teapot for any sharp edges or rough surfaces and smooth them out if necessary. Pay attention to the functionality of the lid, handle, and spout, ensuring they operate smoothly. Take a moment to admire your creation and celebrate the culmination of your artistic journey.
Caring for Your Handmade Pottery Teapot
To ensure the longevity of your handmade pottery teapot, proper care is essential. Hand wash the teapot with warm water and mild soap, avoiding harsh scrubbing or abrasive cleaners. It is best to avoid using a dishwasher as the high temperatures and strong detergents can damage the teapot. Handle the teapot with care, avoiding sudden temperature changes that could cause thermal shock. With proper care, your handmade teapot can be enjoyed for many years to come.
FAQs
Can I use any type of clay for making a teapot?
Yes, you can use different types of clay for making a teapot. Porcelain, stoneware, and earthenware are commonly used, each offering different characteristics and aesthetics.
How long does it take to make a handmade teapot?
The time required to make a handmade teapot can vary depending on factors such as complexity, size, and drying time. On average, it may take several hours to several days to complete a teapot.
Can I use my teapot for brewing tea?
Yes, handmade pottery teapots are designed for brewing tea. Ensure that the teapot is properly glazed and fired to make it waterproof and safe for brewing hot beverages.
Can I personalize the design of my teapot?
Absolutely! One of the advantages of making a handmade teapot is the ability to personalize the design. You can incorporate your own unique style, patterns, and colors into the teapot.
Where can I learn pottery techniques?
There are various resources available for learning pottery techniques. You can join pottery classes, workshops, or seek online tutorials and instructional videos. Local community centers or art studios often offer pottery courses as well.
Conclusion
Making a handmade pottery teapot is a fulfilling and creative endeavor that allows you to express your artistic vision. From shaping the clay to adding decorative elements, each step in the process contributes to the final masterpiece. Embrace the ancient tradition of pottery and create a teapot that reflects your style and personality. Enjoy the process and savor the joy of creating something truly unique.