How To Make Clay At Home For Pottery
Pottery is a timeless craft that allows individuals to express their creativity and create beautiful ceramic pieces. One of the key components in pottery is clay, which serves as the foundation for shaping and molding various forms.
While there are many types of clay available for purchase, making clay at home can be a rewarding and cost-effective alternative. In this article, we will guide you through the process of making clay at home for pottery, providing step-by-step instructions and valuable tips along the way.
I. Introduction
Pottery has been an integral part of human history, dating back thousands of years. It has been used for both functional and artistic purposes, showcasing the skill and craftsmanship of artisans worldwide.
Clay, being the primary material in pottery, holds great significance in the creation of ceramic pieces. By making clay at home, you have the opportunity to connect with the art form on a deeper level and have more control over the creative process.
II. Gathering Materials
Before you embark on making clay at home, it’s important to gather all the necessary materials. Here’s a list of items you’ll need:
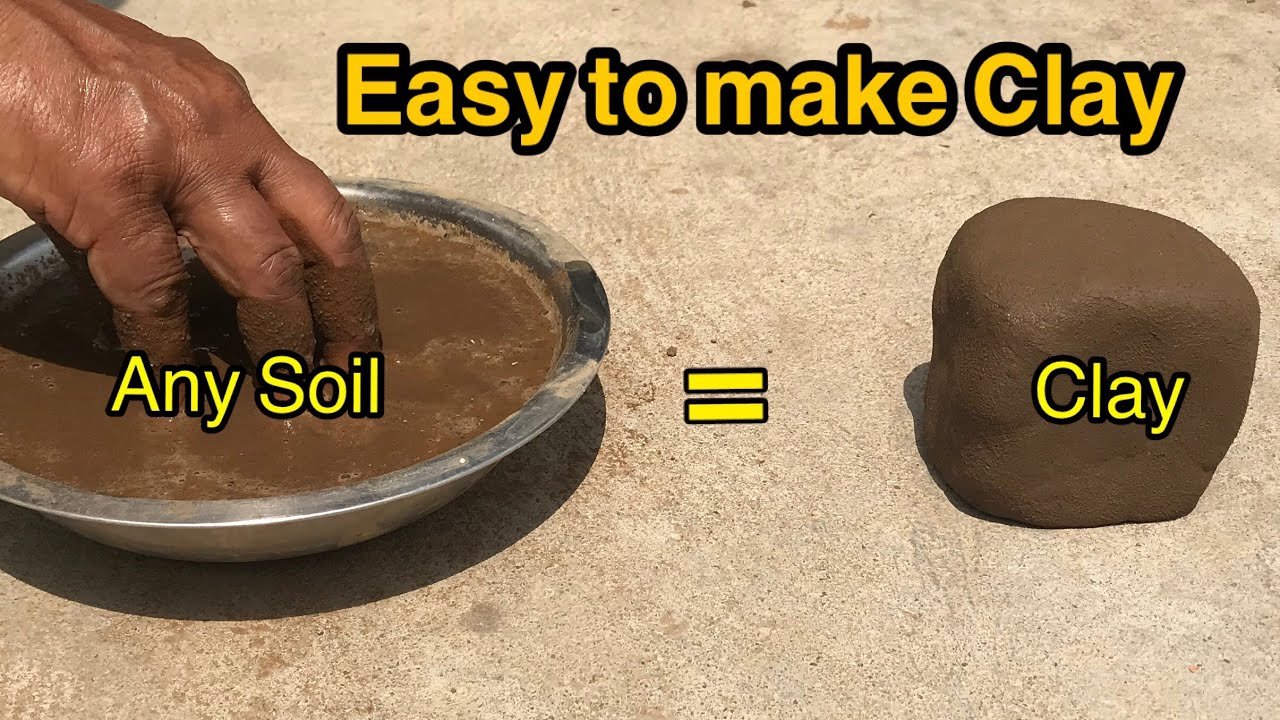
- Soil: Look for soil that is rich in clay content. Sandy or loamy soils are not suitable for making clay as they lack the necessary binding properties. Clay soil can be found in certain areas or can be purchased from a gardening store.
- Bucket: A sturdy bucket will be used to mix and store the clay.
- Water: You’ll need water to moisten the clay and achieve the desired consistency.
- Mesh screen or fabric: This will be used to sift out any impurities or debris from the soil.
- Large container: A container will be used to soak the soil and remove excess water.
Once you have gathered these materials, you’re ready to start making your own clay at home.
III. Preparing the Clay
- Begin by removing any stones or large particles from the soil. Use a mesh screen or fabric to sift the soil, ensuring a smoother texture.
- Place the soil in a large container and add water until it covers the soil completely. Allow the soil to soak for a few hours or overnight.
- After the soil has soaked, use your hands to break up any clumps and create a slurry-like consistency.
- Gradually add more water and continue kneading the clay until it reaches a workable texture. The clay should hold its shape when molded but not be overly sticky or wet.
IV. Testing and Adjusting the Clay
Before using the clay for pottery, it’s important to test its consistency. Conduct a pinch test by taking a small amount of clay and pinching it between your fingers. The clay should hold its shape without cracking or sagging excessively. If the clay is too dry, add a small amount of water and knead it again. If it’s too wet, let it air-dry for a while or add more dry soil to absorb the excess moisture.
V. Storing the Clay
To prevent the clay from drying out, it’s crucial to store it properly. Place the clay in a sealable plastic bag or wrap it tightly with plastic wrap. Make sure there is no air trapped inside, as this can cause the clay to dry and harden. Store the clay in a cool and dark place, such as a cupboard or refrigerator. Regularly check the clay’s moisture level and make any necessary adjustments to maintain its workability.
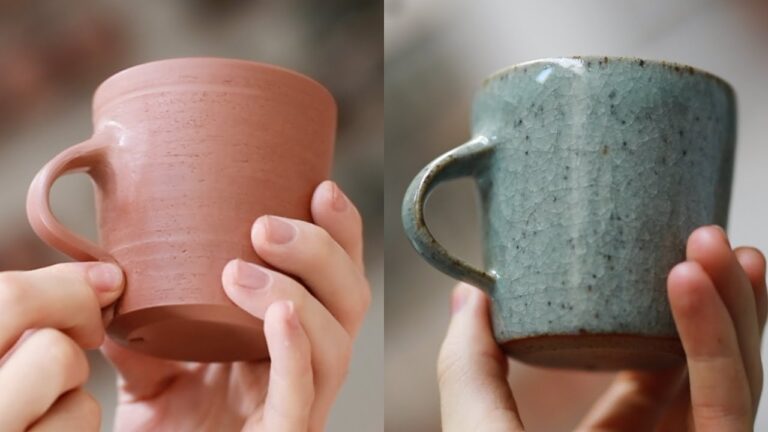
VI. Using the Clay for Pottery
Now that you have successfully made clay at home, it’s time to put it to use. Clay can be shaped and molded in various ways, depending on your desired pottery techniques. Here are a few common methods:
- Hand-building: Hand-building involves shaping the clay by hand, using techniques such as pinch pots, coiling, and slab construction. It allows for greater creativity and control over the final form.
- Potter’s wheel: Using a potter’s wheel requires more skill and practice but allows for precise and symmetrical forms. The wheel spins the clay as you shape it with your hands and tools.
Choose the technique that suits your preference and start creating your pottery masterpiece.
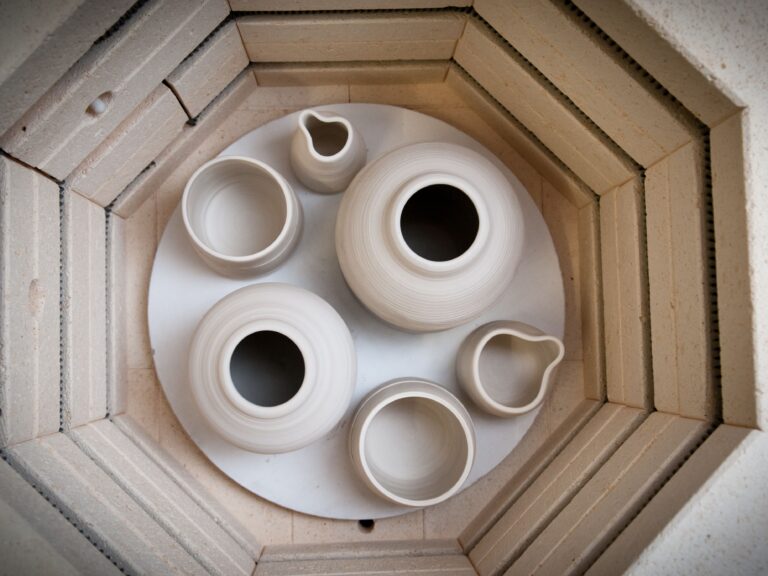
VII. Drying and Firing the Pottery
Once you have finished shaping your pottery, it needs to dry thoroughly before it can be fired. Place the clay pieces on a flat surface and allow them to air dry. This process typically takes several days to a few weeks, depending on the size and thickness of the pieces.
After air-drying, the pottery can be fired to achieve permanence and strength. There are several firing options available, including using a kiln, oven, or open fire. Each method requires specific temperature and timing considerations, so be sure to follow the recommended guidelines for your chosen firing method.
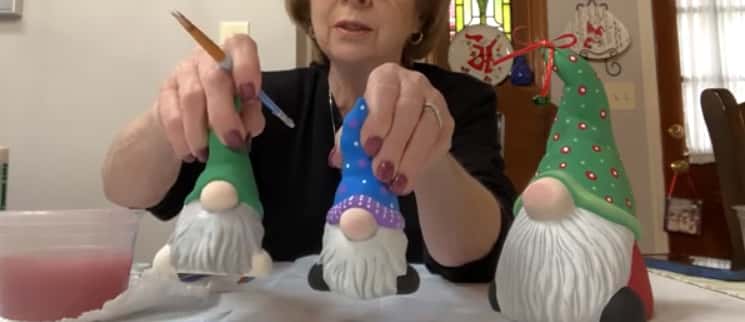
VIII. Finishing and Decorating the Pottery
Once the pottery has been fired and cooled, it’s time to add the finishing touches. Begin by sanding and smoothing any rough edges or surfaces using sandpaper or a sponge. This step ensures a polished and professional look to your pottery.
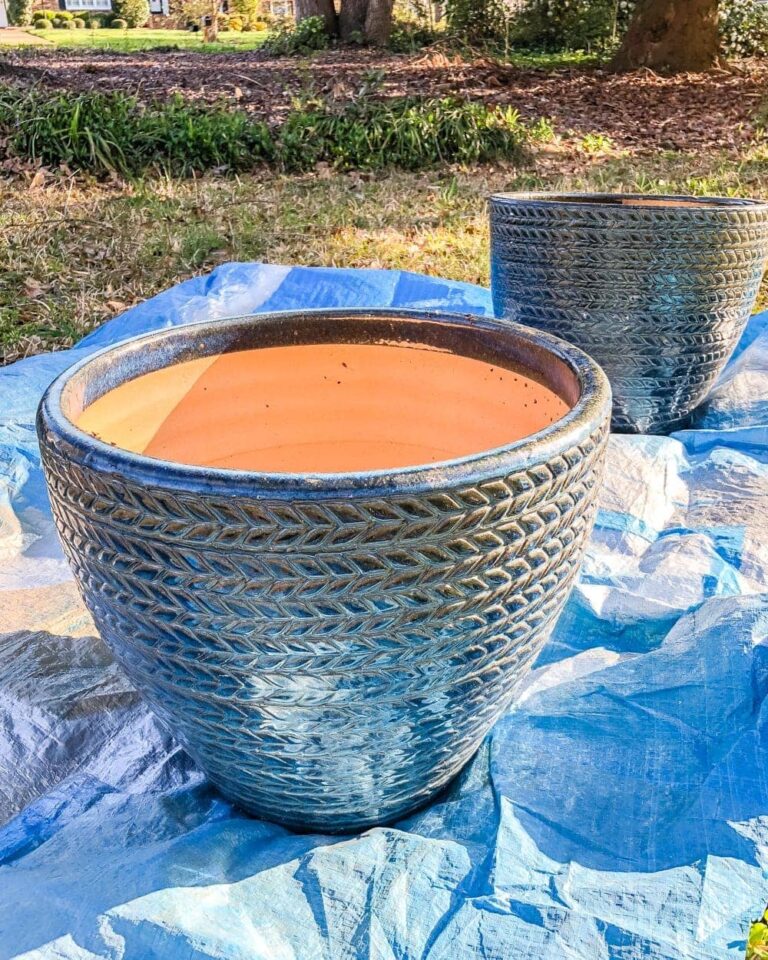
If you desire additional visual appeal, consider applying glazes or paints to your pottery. Glazes provide a protective coating and can add vibrant colors and unique effects to the finished piece. Follow the manufacturer’s instructions when applying glazes or paints, as each product may have specific application techniques and firing requirements.
IX. Curing and Sealing the Pottery
After the pottery has been glazed or painted, it needs to undergo a curing process to enhance its durability. Curing involves heating the pottery at a specific temperature to strengthen the glaze and bond it with the clay. Refer to the instructions provided by the manufacturer to determine the appropriate curing temperature and duration.
Once the pottery has been cured, you may choose to apply a sealant to further protect the surface and add a glossy finish. There are various sealant options available, including spray-on sealants and brush-on varnishes. Select a sealant that is compatible with your pottery’s materials and intended use.
X. FAQs
Can I use any type of soil to make clay?
It is best to use soil with a high clay content, as sandy or loamy soils lack the necessary binding properties. Clay soil can be found in certain areas or purchased from a gardening store.
How long does it take for the clay to dry?
The drying time varies depending on the size and thickness of the clay pieces. It can take several days to a few weeks for the clay to air dry completely.
Can I use homemade clay for professional pottery?
Yes, homemade clay can be used for both amateur and professional pottery. However, it’s essential to ensure the clay is well-prepared and properly fired to achieve the desired results.

What safety precautions should I take when working with clay?
When working with clay, it’s important to protect your hands by wearing gloves, as some clays may contain irritants. Additionally, ensure proper ventilation in your workspace when using glazes or paints.
Can I reuse clay scraps?
Yes, clay scraps can be reused. Simply collect the leftover clay, add a bit of water if needed, and knead it until it reaches a workable consistency again.
XI. Conclusion
Making clay at home for pottery provides a fulfilling and cost-effective way to engage in the art of ceramics. By following the step-by-step process outlined in this article, you can create your own clay using readily available materials. From preparing the clay to shaping and finishing your pottery, each stage offers opportunities for creativity and self-expression.
Remember to store your clay properly, use appropriate pottery techniques, and follow recommended drying and firing processes. With practice and dedication, you can unleash your artistic potential and create unique ceramic pieces that reflect your personal style.