How To Use A Pottery Wheel
Pottery is a captivating art form that allows you to shape clay into beautiful and functional objects. One of the essential tools for creating pottery is a pottery wheel. In this article, we will guide you through the step-by-step process of using a pottery wheel, from setting it up to creating your masterpiece.
What is a Pottery Wheel?
A pottery wheel, also known as a potter’s wheel, is a mechanical device that spins a circular platform, allowing potters to shape clay while it rotates. The rotational movement enables even shaping and consistent thickness of the pottery.
Types of Pottery Wheels
There are two main types of pottery wheels: electric pottery wheels and kick wheels. Electric pottery wheels are powered by electricity and offer precise control over speed and direction. Kick wheels, on the other hand, are manually operated using foot pedals, offering a more traditional and hands-on experience.
Setting Up Your Pottery Wheel
Before you can start using a pottery wheel, you need to set it up properly. Here are the steps to set up your pottery wheel:

- Find a suitable location: Choose a well-ventilated area with enough space for you to work comfortably.
- Level the wheel: Ensure that the pottery wheel is level to prevent any wobbling during the spinning process.
- Secure the wheel: Depending on the type of pottery wheel, follow the manufacturer’s instructions to secure it in place.
- Connect the power (for electric pottery wheels): If you’re using an electric pottery wheel, plug it into a suitable power source and ensure it is functioning correctly.
Preparing the Clay
Once your pottery wheel is set up, it’s time to prepare the clay:
- Wedge the clay: Wedging involves kneading the clay to remove air bubbles and create an even consistency.
- Prepare clay balls: Divide your clay into manageable balls, typically around the size of a fist, to make it easier to work with.
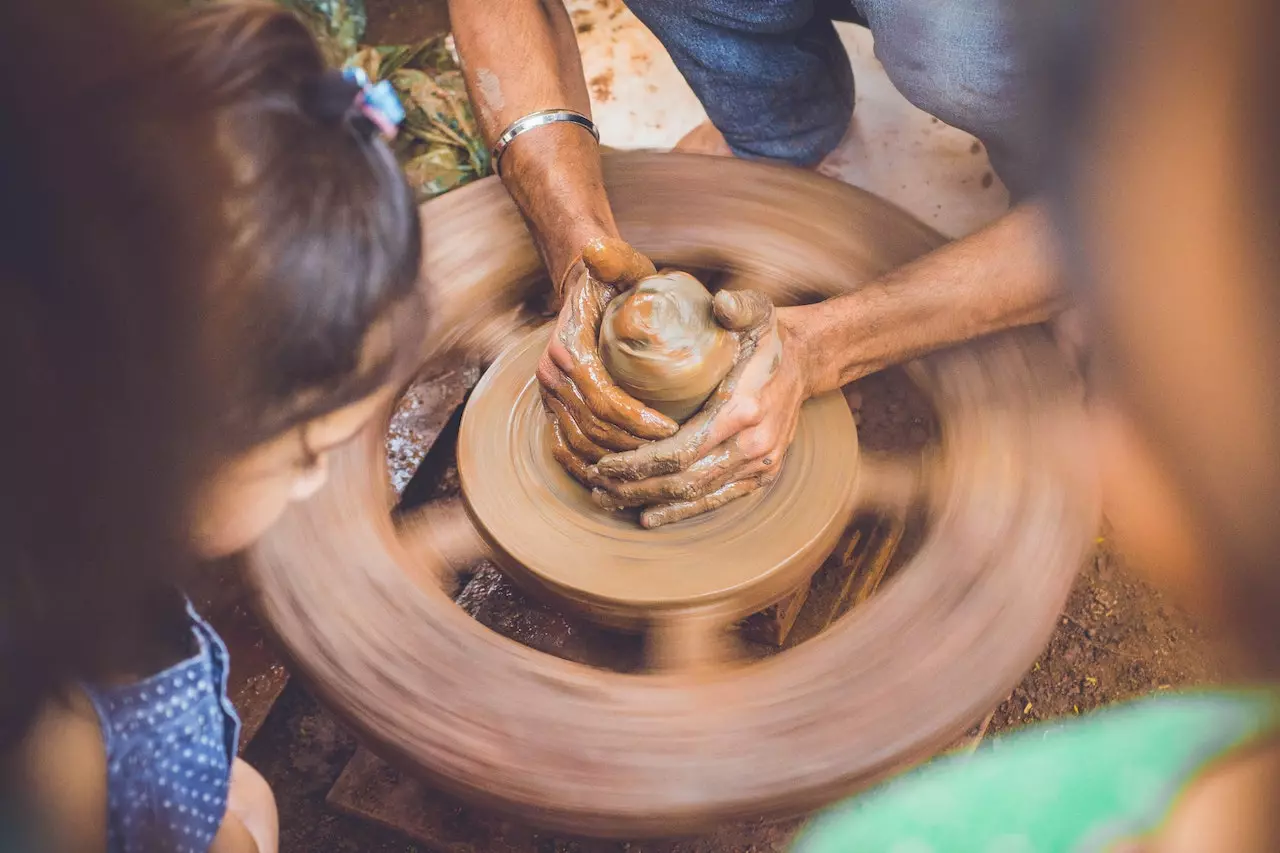
Centering the Clay
Centering the clay is a crucial step that ensures stability and balance while shaping your pottery:
- Place the clay on the wheel: Gently press one of your clay balls onto the center of the spinning wheel.
- Apply pressure and center the clay: Use your hands to apply gentle pressure and coax the clay into the center of the wheel. Maintain even pressure to prevent wobbling.
Opening the Clay
Once the clay is centered, it’s time to open it up:
- Wet your hands: Keep a bucket of water nearby and wet your hands to prevent the clay from sticking.
- Form an indentation: With your hands positioned around the clay ball, slowly press your thumbs into the center to create an indentation. Gradually widen the indentation to create a hollow space.
Shaping and Trimming
With the clay open, you can now shape and trim it according to your desired form:
- Shape the walls: Use your hands and gentle pressure to shape the clay walls upward, gradually thinning them.
- Use tools for trimming: Employ various pottery tools, such as a rib or a wire tool, to refine the shape and remove excess clay.
Adding Details
Once the basic shape is achieved, you can add intricate details to your pottery:
- Carve or sculpt: Use pottery carving tools or your fingertips to create textures, patterns, or decorative elements.
- Experiment with different techniques: Explore techniques like slip trailing, impressing, or appliqué to add unique designs to your pottery.
Drying and Finishing
After shaping and adding details, your pottery needs to dry properly before it can be fired:
- Allow the pottery to air dry: Place your pottery in a well-ventilated area, away from direct sunlight or drafts. Slow drying prevents cracking.
- Check for uniform moisture: To ensure even drying, periodically rotate your pottery to expose all sides to the air.
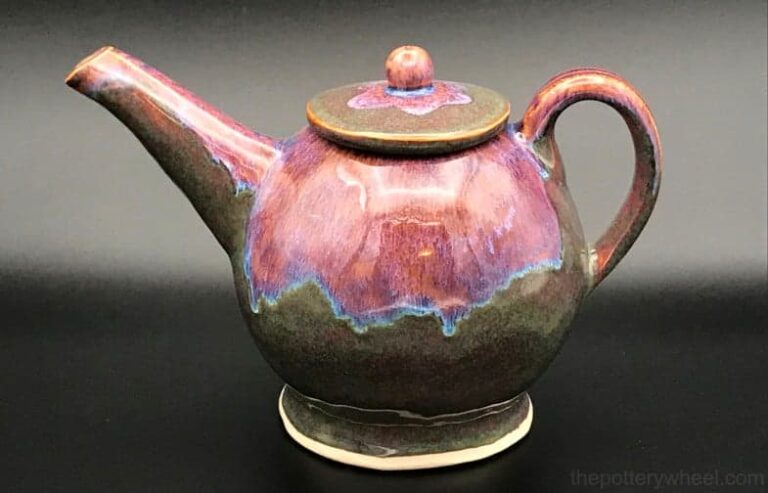
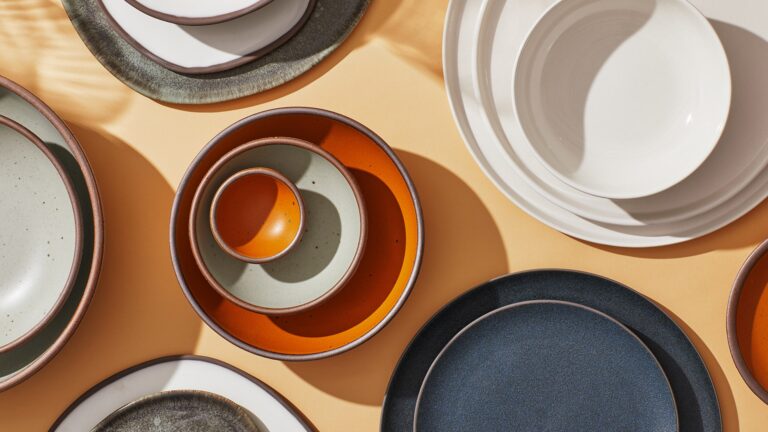
Glazing and Firing
Once your pottery is completely dry, it’s time to glaze and fire it:
- Choose the right glaze: Select a suitable glaze that complements your pottery and achieves the desired finish.
- Apply the glaze: Use brushes or dipping techniques to apply an even coat of glaze to your pottery.
- Fire your pottery: Follow the specific instructions for your type of clay and glaze. Firing can be done in a kiln or through alternative methods like pit firing or raku.
Maintenance and Care
To keep your pottery wheel in good condition and ensure its longevity, regular maintenance is essential:
- Clean the wheel: Remove any clay residue and debris from the wheel after each use.
- Lubricate moving parts: Apply appropriate lubrication to the moving parts to prevent rusting and ensure smooth operation.
- Store the wheel properly: Cover the pottery wheel when not in use to protect it from dust and other elements.
Tips for Using a Pottery Wheel
Here are some additional tips to enhance your pottery wheel experience:
- Start with simple forms: Begin by creating basic shapes like bowls or cylinders before progressing to more complex designs.
- Experiment with different clay types: Explore various clay bodies to understand their unique characteristics and how they respond to the wheel.
- Practice regularly: Like any skill, regular practice will improve your proficiency on the pottery wheel.
Troubleshooting Common Issues
If you encounter difficulties while using a pottery wheel, here are some common issues and their solutions:
- Wobbling clay: Ensure the clay is properly centered and apply consistent pressure to prevent wobbling.
- Uneven walls: Maintain even pressure while shaping the walls to create uniform thickness.
- Clay sticking to hands: Keep your hands wet or use water regularly to prevent clay from sticking.
FAQs
Q1. How long does it take to learn pottery on a wheel?
The learning curve for pottery on a wheel varies for each individual. It can take several weeks to months of consistent practice to become comfortable and proficient in wheel-thrown pottery.
Q2. Can I use any type of clay on a pottery wheel?
Not all clays are suitable for pottery wheel throwing. It’s important to choose clay specifically formulated for wheel work. Consult with your local pottery supply store to select the right clay type for your needs.
Q3. Can I use a pottery wheel at home?
Yes, you can use a pottery wheel at home. Electric pottery wheels are more suitable for home use due to their compact size and ease of use. Ensure you have a dedicated space with proper ventilation and consider the noise factor.
Q4. What is the difference between pottery and ceramics?
Pottery refers to objects made from clay that have been shaped and fired, whereas ceramics encompass a broader range of objects made from clay or other inorganic materials, including pottery.
Q5. Can I use a pottery wheel without any prior experience?
Yes, you can use a pottery wheel without prior experience. However, taking a pottery class or seeking guidance from an experienced potter can significantly accelerate your learning process and improve your technique.
Conclusion
Using a pottery wheel allows you to explore your creativity and bring clay to life. With the step-by-step guide provided in this article, you can confidently embark on your pottery journey. Remember to enjoy the process, embrace mistakes as learning opportunities, and keep honing your skills to create unique and remarkable pottery pieces.