What Clay Is Best For Pottery
Hand building pottery is a wonderful way to explore your creativity and create unique, personalized ceramic pieces. When it comes to hand building, choosing the right clay is crucial for the success of your projects.
In this article, we will explore the different types of clay suitable for hand built pottery, key considerations for choosing clay, various hand building techniques, and essential tips to enhance your pottery skills.
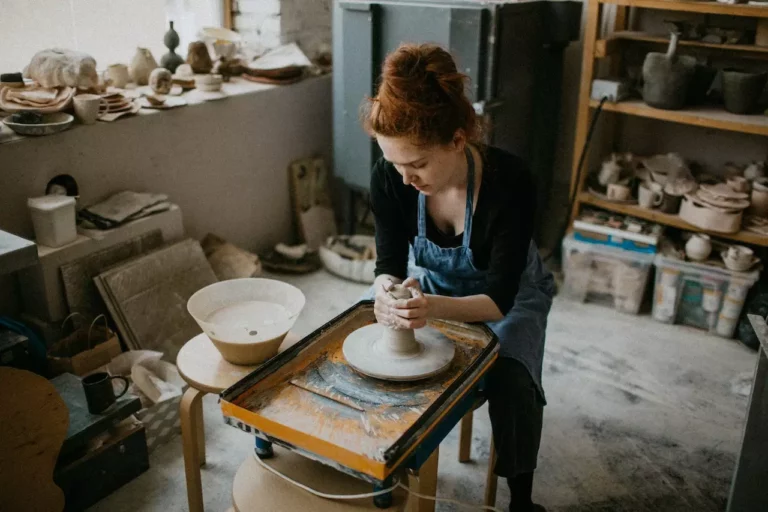
Hand built pottery refers to the process of creating pottery by hand, without the use of a potter’s wheel. This technique allows artists to sculpt and shape clay in various ways to achieve desired forms and designs. Hand building is a versatile approach that encompasses techniques like pinching, coiling, and slab building.
Different Types of Clay for Hand-Built Pottery
Earthenware Clay
Earthenware clay is a popular choice for hand building due to its low firing temperature, typically ranging from cone 06 to cone 04. It is known for its warm, earthy appearance and is often used for decorative pottery and sculptures. Earthenware clay is relatively easy to work with and is suitable for beginners.
Stoneware Clay
Stoneware clay is a versatile clay type that is commonly used for both hand building and wheel throwing. It has a higher firing temperature, usually ranging from cone 5 to cone 10. Stoneware pottery is known for its durability and is often preferred for functional pieces like plates, bowls, and mugs.
Porcelain Clay
Porcelain clay is highly regarded for its delicate and translucent qualities, making it a popular choice for creating fine and elegant hand built pottery. It has a high firing temperature, typically ranging from cone 9 to cone 14. Porcelain requires more skill and experience to work with due to its challenging nature, but the results can be truly stunning.
Key Considerations for Choosing Clay
Plasticity
Plasticity refers to the clay’s ability to be easily shaped and molded. When hand building, it is important to choose a clay type that offers good plasticity, allowing you to work with it smoothly and effortlessly.
Firing Temperature
Consider the firing temperature required for the clay you choose. Ensure it aligns with your kiln’s capabilities and the desired outcome of your pottery. Different clay types have specific firing temperature ranges, so be mindful of this aspect.
Color
Clay comes in various natural colors, such as red, brown, and white. The color of the clay can affect the overall appearance of your finished pottery. Consider the aesthetic you wish to achieve and select a clay color that complements your artistic vision.

Texture
Clay textures range from smooth to coarse, and each can add a distinct look and feel to your hand built pottery. Consider the desired texture and choose a clay type that aligns with your creative intent.
Techniques for Hand-Building Pottery
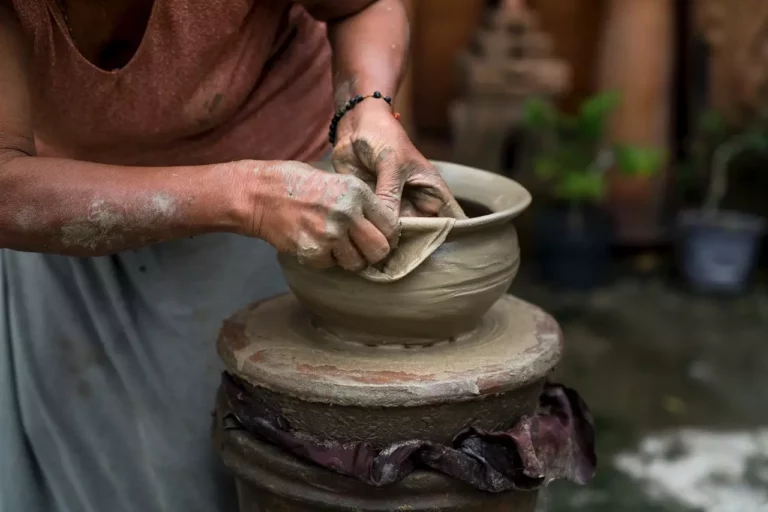
Pinching
Pinching is a technique that involves shaping clay by pinching and squeezing it between your fingers. It allows for a more organic and free-flowing approach to pottery making, making it an excellent technique for creating unique, irregular forms.
Coiling
Coiling involves creating long, snake-like rolls of clay and stacking them on top of each other to build the walls of a pottery piece. This technique is versatile and can be used to create both simple and complex forms.
Slab Building
Slab building entails rolling out clay into flat, even sheets or slabs, which are then cut and assembled to construct pottery forms. Slab building offers precision and allows for the creation of intricate designs and structured shapes.
Tips for Working with Clay
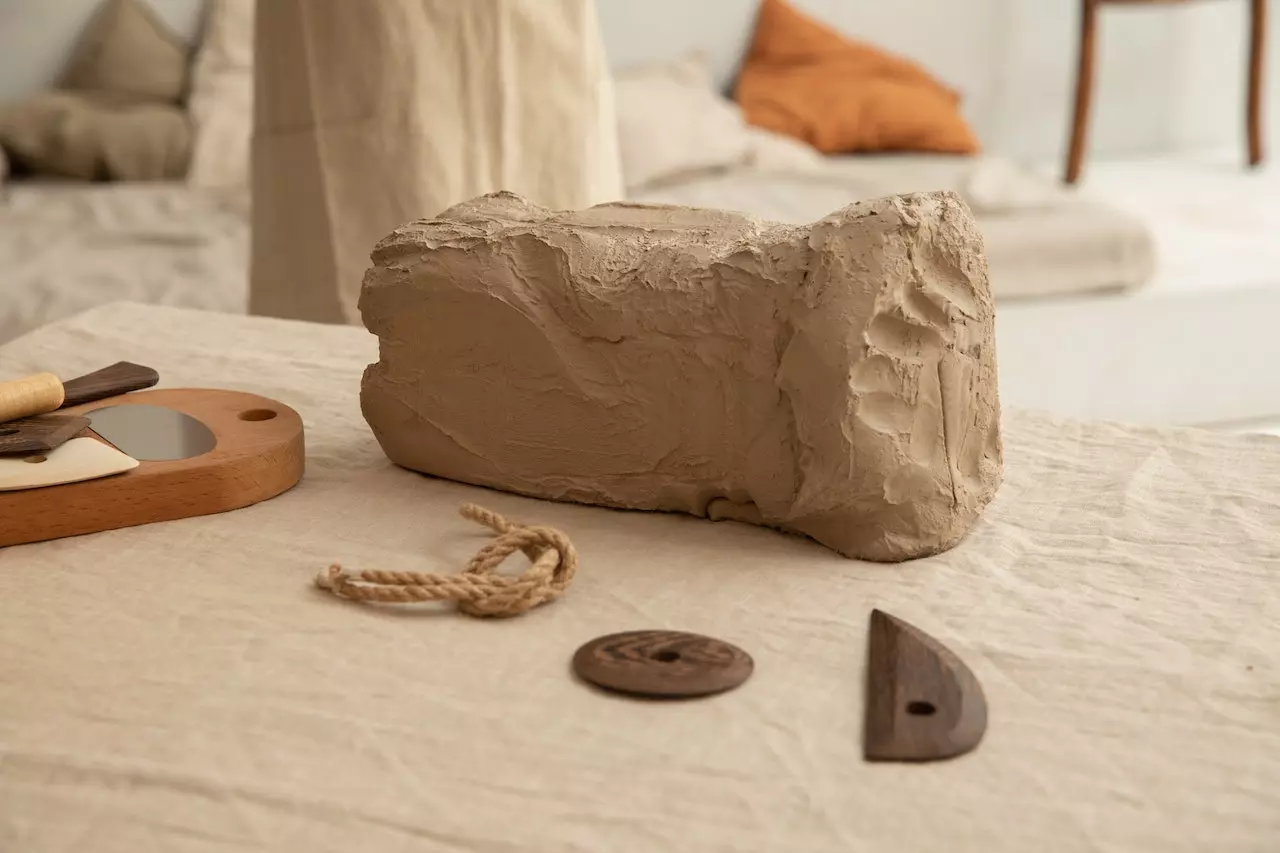
Wedging
Before starting your hand building project, it is essential to wedge the clay. Wedging helps remove air bubbles and ensure uniform moisture distribution throughout the clay, making it easier to work with.
Drying and Moisture Control
Proper drying and moisture control are crucial to prevent cracking and warping during the drying and firing processes. Slow and controlled drying is recommended to avoid sudden moisture loss, which can lead to structural issues in your pottery.
Surface Decoration
Enhance the aesthetic appeal of your hand built pottery through surface decoration techniques like carving, stamping, or adding textures. Experiment with different methods to add visual interest and personal style to your creations.
Firing and Finishing Hand Built Pottery
Once you have completed the construction and surface decoration of your hand built pottery, it’s time to fire and finish it. Follow the recommended firing temperature and duration specific to the clay type you have chosen. After firing, you can apply glazes or other finishes to achieve the desired appearance and functionality.
FAQs
Q1: Can I mix different types of clay for hand building?
Yes, it is possible to mix different types of clay to achieve unique characteristics and properties. However, keep in mind that different clays may have varying shrinkage rates and firing temperatures, so thorough testing and experimentation are essential.
Q2: How long does it take for hand built pottery to dry?
The drying time of hand built pottery can vary depending on factors such as clay type, thickness, and ambient humidity. On average, it can take several days to a few weeks for the pottery to dry completely.
Q3: Can I use regular modeling clay for hand building pottery?
Regular modeling clay is not suitable for creating functional or durable pottery. It is often air-drying clay that lacks the necessary properties for firing and achieving long-lasting results. It is recommended to use clay specifically designed for ceramics and pottery.
Q4: Can I use hand building techniques on a potter’s wheel?
Hand building techniques can be used in combination with wheel throwing to create unique and intricate pottery forms. The versatility of hand building allows for the integration of various techniques and approaches in pottery making.
Q5: How do I prevent my hand built pottery from cracking during firing?
To prevent cracking during firing, ensure that the clay is thoroughly dried before placing it in the kiln. Avoid rapid temperature changes during firing and follow the recommended firing temperature for the clay type you are using. Additionally, be mindful of any air bubbles or uneven thickness in your pottery, as these can contribute to cracking.
Conclusion
Choosing the best clay for hand built pottery is a vital step in creating successful and visually appealing ceramic pieces. Consider the plasticity, firing temperature, color, and texture of the clay to align with your artistic vision.
Experiment with different hand building techniques and incorporate surface decorations to add depth and character to your creations. With practice, patience, and a passion for pottery, you can create beautiful and unique hand built pottery pieces that reflect your artistic style.