How to Master Pottery on a Wheel Like a Pro
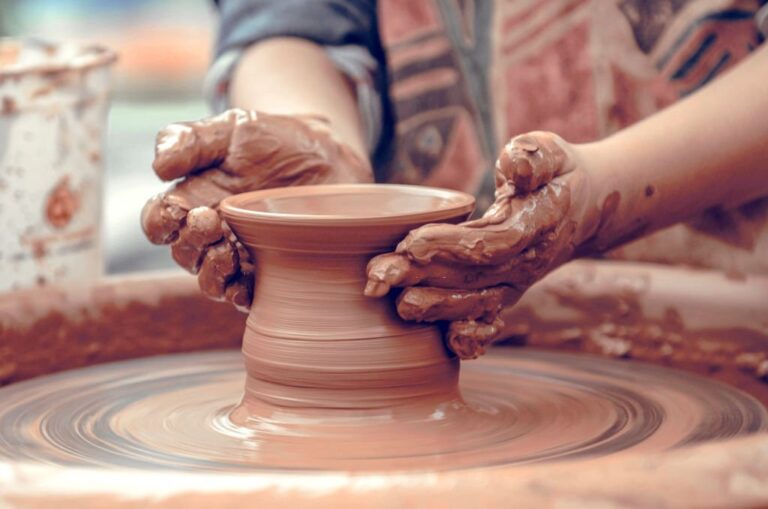
To make pottery on a wheel, first center the clay on the wheelhead and create a vessel shape by pulling and shaping the clay with your hands while the wheel is spinning. Pottery on a wheel can be an artistic and rewarding experience that dates back thousands of years.
This ancient art form can be traced back to the neolithic period, where potters used their bare hands to form earthen vessels. The wheel is now an essential tool for pottery making, but it takes skill and practice to master.
The process involves centering the clay on the wheelhead, creating a vessel shape by pulling and shaping the clay with your hands while the wheel is spinning, and then allowing it to dry and harden before firing in a kiln. Whether you are a beginner or an experienced potter, making pottery on a wheel can be an exciting and fulfilling way to express your creativity and connect with the past.
Essential Pottery Tools And Materials
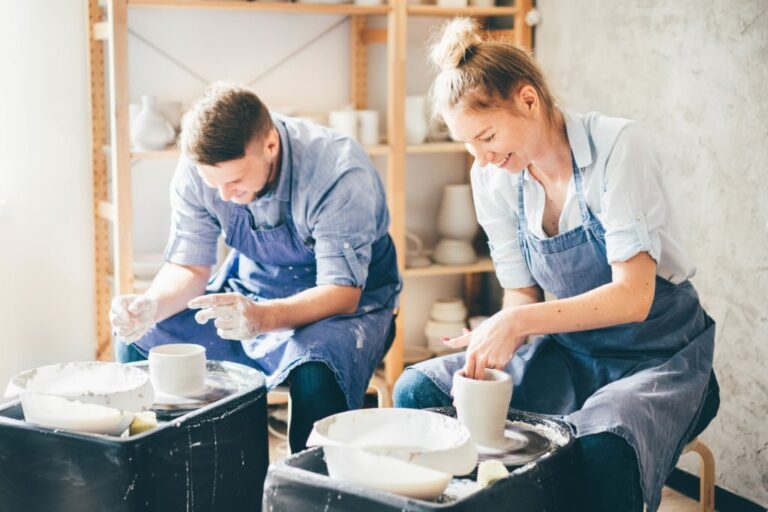
Pottery making on a wheel has been a popular art for ages. Creating beautiful pieces of pottery requires skill, patience, and precision. While the process of pottery making may seem complicated at first, with the right tools and materials, it can be an enjoyable and rewarding experience.
In this blog post, we will discuss the essential tools and materials needed to make pottery, including the pottery wheel, clay, pottery tools, and trimming tools.
Pottery Wheel
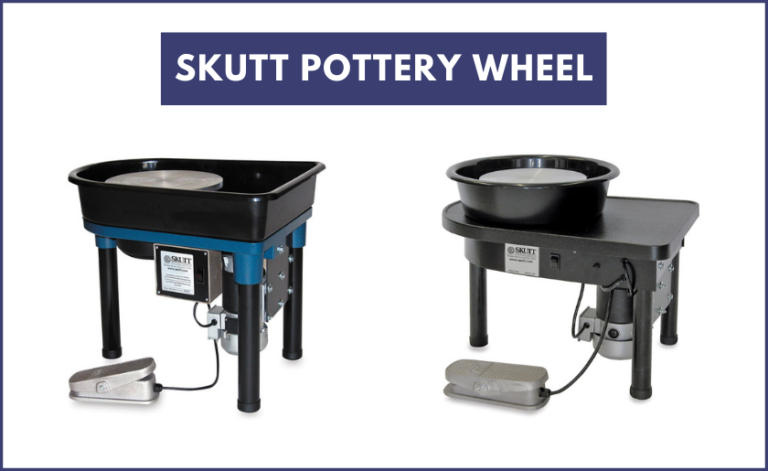
The pottery wheel is one of the most important tools for making pottery. It allows you to shape the clay into various objects such as cups, bowls, vases, and plates. Here are some key points to remember:
- Choose a pottery wheel that suits your needs based on your skill level. There are manual and electric pottery wheels available in the market. Electric wheels make the process quicker and easier, while manual wheels offer more precision.
- Make sure that the pottery wheel is sturdy and can handle the weight of the clay.
- Familiarize yourself with the different parts of the pottery wheel, including the foot pedal, the wheel head, and the splash pan.
Clay
Clay is the primary material used for making pottery. Choosing the right clay is crucial to ensure that your pottery is of good quality. Here are some key points to keep in mind:
- Select a high-quality clay that is suitable for the type of pottery you intend to create.
- Ensure that the clay you choose has the right consistency, neither too wet nor too dry.
- Before using the clay, wedge it to remove air pockets and ensure that it is homogeneous.
Pottery Tools
Pottery tools are essential in making pottery. They help you shape, smooth, and carve the clay to create your desired pottery piece. Here are some key points:
- There is a wide variety of pottery tools available, from shaping tools to texture tools to trimming tools.
- Each tool serves a specific purpose, and using the right tool can make the process more manageable and efficient.
- Some of the essential pottery tools include a sponge, a needle tool, a ribbon tool, a wire cutter, a scraper, and a wooden tool.
Trimming Tools
Trimming tools are crucial in making your pottery pieces look professional and polished. They allow you to remove excess clay and refine the shape of the piece. Here are some key points to bear in mind:
- Trimming tools are used after the pottery has been dried and leather-hardened.
- There is a wide variety of trimming tools available in the market, including loop tools, modeling tools, and trimming chisels.
- Using the right trimming tool can make the process more precise and efficient, leading to better-quality pottery.
Making pottery on a wheel requires proper tools and materials, including a pottery wheel, clay, pottery tools, and trimming tools. These essential components will enable you to create beautiful pottery pieces that are unique and professional-looking. By following the tips and tricks discussed in this blog post, you can hone your pottery-making skills and enjoy this fun and rewarding art form.
Steps To Pottery Making On A Wheel
Preparing The Clay
Before making pottery on a wheel, it is important to prepare the clay. Follow these steps:
- Wedge the clay to remove air pockets and ensure uniform texture.
- Keep the clay moist to avoid cracking or breaking while you work with it.
- Cover the prepared clay with plastic to prevent it from drying out.
Centering The Clay On The Wheel
To ensure that your pottery turns out even and symmetrical, the clay must be centered on the wheel. Here’s how you do it:
- Sit at the wheel and wet your hands.
- Place the clay on the wheel and press it down to ensure it sticks.
- Turn on the wheel and apply steady pressure to the clay with your hands.
- Use your palms to smooth the clay.
Pulling Up The Walls
Once the clay is centered, you can start pulling up the walls of the pottery. Follow these steps:
- Wet your hands and slowly bring them up the clay to form a cone shape.
- Use your thumbs to create a hole at the center of the cone, and widen it by gently pulling outwards.
- Place your fingers inside the hole and gently pull the walls up to the desired height.
Shaping The Pot
Now that the walls of the pot are up, you can start shaping it. Follow these steps:
- Wet your hands and lightly press the walls to flatten them.
- Use your fingers to create contours and curves as desired.
- Smooth the surface of the pot with a rib tool to finish the shaping process.
Trimming The Pot
Once you have achieved the desired shape, it’s time to trim off any excess clay. Follow these steps:
- Use a needle tool to create a guideline at the base of the pot.
- Use a trimming tool to cut off excess clay outside of the guideline.
- Smooth the base of the pot with a rib tool.
Drying And Finishing
The final step is to let the pottery dry and finish it. Here’s how:
- Let the pot dry completely to prevent cracking during firing.
- Sand off any rough spots on the pot.
- Glaze the pottery and fire it in a kiln according to the glaze instructions.
Making pottery on a wheel can be a fun and rewarding hobby. With the right tools and techniques, you can create unique and beautiful pieces of art. So, grab some clay and start experimenting with your own designs!
Tips And Techniques For Perfecting Your Pottery Skills
Creating ceramic art using a pottery wheel is an exciting and rewarding experience. As a beginner, it can be overwhelming to master the process. But with patience, consistent practice, and the right tips, you will improve your pottery skills. Here are some tips and techniques that can help you perfect your pottery skills!
Consistency Is Key
Consistency is essential in pottery making and will determine the quality of your work. Here are some tips for crafting consistent pieces:

- Ensure that your clay is at a consistent moisture level before starting.
- Be consistent with the amount of pressure you apply when throwing the clay.
- Center the clay on the wheel consistently.
Understand The Movement Of Clay
Moving the clay on the pottery wheel can take some getting used to. Here are some tips to help you have better control over the clay:
- Slowly wet your hands before working on the pottery wheel.
- When moving the clay, keep your arms close to your body.
- Move the clay in a circular motion and apply pressure with your fingers as evenly as possible.
Practice Hand Positioning
Hand positioning will affect the shape and quality of the pottery you create. Here are some tips to help with hand positioning:
- Use both hands to apply pressure evenly on the clay while it is shaping.
- Keep your fingers and wrists relaxed during the process.
- Use your fingertips when shaping the base while keeping your hands in the same position.
Utilize Your Breath While Throwing
Your breath can be your secret weapon while throwing pottery. Here are some tips to help you use your breath to your advantage:
- Take deep breaths and relax your shoulders before starting to throw.
- Exhale and apply pressure with your fingers to move the clay.
- Adjust your breath and exhale slowly to have more control over the clay’s movement.
Do Not Rush The Process
Patience is key when making pottery on a wheel. Remember, it takes time to learn and perfect this craft. Here are some tips to help you remain patient:
- Take your time when working with clay.
- Do not rush the process of shaping the clay as it could ruin your creation.
- Take breaks when needed to come back to your work with fresh eyes and a clear mind.
Practice is the key to perfecting your pottery skills. By following these tips and techniques, you can improve your pottery skills while crafting beautiful pieces!
Troubleshooting Common Pottery Making Issues
Making pottery on a wheel can be a fulfilling and therapeutic experience, but it comes with its fair share of challenges. Here are some common issues that can arise during the pottery making process and how to fix them.
Uneven Thickness
An uneven thickness is a common issue that can arise while making pottery on a wheel. Here are some ways to fix it:
- Slow down wheel speed to have better control over the clay.
- Use a rib tool to remove excess clay and ensure even thickness.
- Use calipers to measure the thickness of the wall regularly.
- Make sure to compress the clay regularly using ribs or fingers.
Warping Or Collapsing While Throwing
Warping or collapsing of pottery pieces are usually caused by uneven pressure or a lack of support. Here are some steps you can take to prevent this issue:
- Use your non-throwing hand to provide support to the base of the pot.
- Keep the walls of the pot thicker at the bottom and thinner at the top.
- Make sure to raise the walls uniformly, without applying too much pressure at one spot.
- Allow the piece to dry at a consistent rate, keeping it covered with plastic wrap.
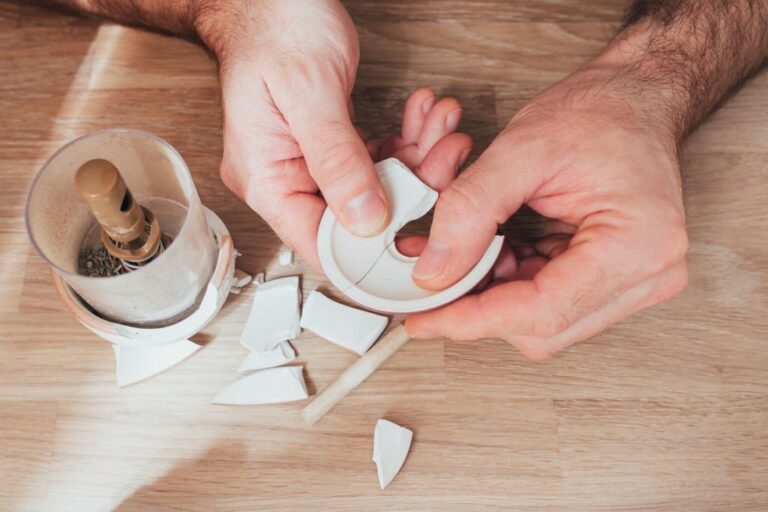
Cracking During Drying
Cracks in your pottery pieces can occur during the drying process, often due to uneven drying. Here are some ways to prevent cracking:
- Cover the piece with plastic wrap and let it dry slowly.
- Monitor the drying process carefully to avoid uneven drying and cracking.
- Smooth out any cracks that appear while the piece is still in the greenware stage.
- Make sure to trim the bottom of the pot to an even thickness to avoid uneven drying.
Glaze Defects
Glaze defects can be frustrating, but they are fixable with the following steps:
- Mix the glaze thoroughly to ensure there are no lumps.
- Apply the glaze evenly in thin layers to avoid defects.
- Allow each layer of glaze to dry before applying the next.
- Check for any pinholes or bubbles in the glaze before firing, and fix them with extra glaze or sanding.
By troubleshooting these common pottery making issues, you can enhance your pottery making skills and create beautiful pieces that will last a lifetime. Keep in mind that practice makes perfect, so don’t be discouraged if you encounter challenges along the way.
Happy potting!
Frequently Asked Questions Of How To Make Pottery On A Wheel
What Is Pottery On A Wheel?
Pottery on a wheel involves using a spinning wheel to form clay into different shapes and objects. It’s a popular form of pottery-making that requires skill and practice to master.
What Equipment Do I Need To Make Pottery On A Wheel?
To make pottery on a wheel, you’ll need a pottery wheel, clay, water, and various shaping tools like sponges, paddles, and wire cutters. You may also need a kiln to fire your pottery pieces once they’re finished.
How Do I Center Clay On A Pottery Wheel?
Centering clay on a pottery wheel is the foundation of all wheel-thrown pottery. To do this, moisten your hands and the clay, then gently press down on the clay as the wheel spins. Use your fingers to create a cone shape and then bring the clay back inwards towards the center of the wheel until it’s even and centered.
What Are Some Basic Pottery Wheel Techniques?
Some basic pottery wheel techniques include throwing, trimming, and glazing. Throwing involves forming the clay on the wheel to create a shape. Trimming involves cutting excess clay from the piece to refine the shape. Glazing involves adding a layer of colored or clear glaze to the fired piece.
How Long Does It Take To Get Good At Pottery On A Wheel?
It can take months or even years to become truly skilled at pottery on a wheel. However, with practice and dedication, you can improve quickly. Start with simple projects and work your way up to more complex designs. Remember that even mistakes can teach you valuable lessons.
Conclusion
To sum things up, making pottery on a wheel can be an incredibly rewarding experience for anyone who enjoys working with their hands. Whether you’re a beginner or an experienced potter, the techniques and tips outlined in this post can help you take your skills to the next level.
Remember to always keep your workspace and tools clean, practice your centering and throwing techniques regularly, and experiment with different shapes and designs to find what works best for you. With a little bit of practice and patience, you can create beautiful handmade pottery that you’ll be proud to display or use in your daily life.
So, go forth, get your hands dirty, and enjoy the wonderful world of pottery making!