Techniques for Transfering Drawings onto Ceramic
Explanation of the importance of transferring drawings onto ceramic Transferring a drawing onto ceramic can greatly enhance the beauty and artistic value of ceramic pieces. It allows potters and ceramic artists to create intricate designs and patterns on their pieces, and to add a personal touch to their creations. It’s also a common technique used in production ceramics where the design is transferred to multiple pieces.
Overview of the different methods for transferring a drawing onto ceramic There are several methods for transferring a drawing onto ceramic, including tracing paper transfer, carbon paper transfer, and direct transfer. Each method has its own advantages and disadvantages, and choosing the best method will depend on the individual project and the skill level of the artist.
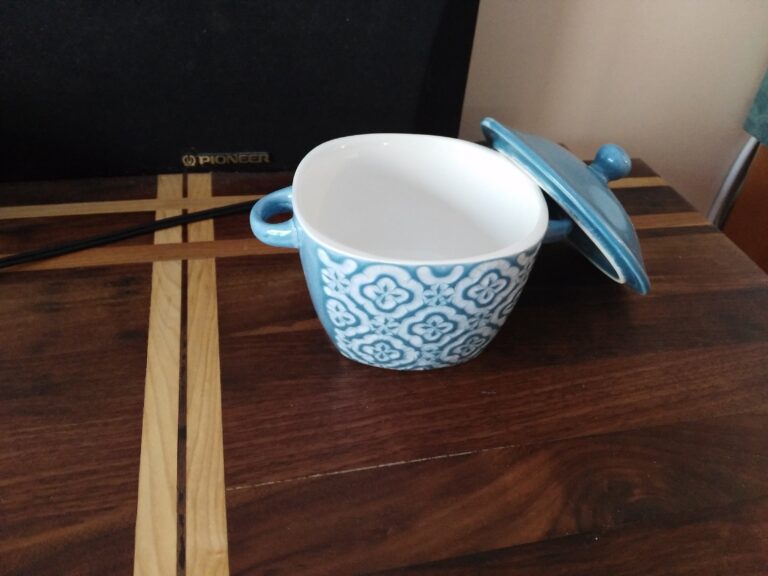
Preparing the Ceramic Surface A. Cleaning and preparing the ceramic surface for drawing transfer Preparing the ceramic surface is an important step in the drawing transfer process. The surface should be clean and free of any dirt or debris before transferring a drawing. This can be done by wiping the surface with a damp cloth or using a mild detergent to clean it.
Understanding the importance of surface preparation for successful drawing transfer Proper surface preparation is crucial for achieving crisp, clean lines when transferring a drawing onto ceramic. A smooth, clean surface allows the transfer medium to make better contact with the ceramic, resulting in more accurate and clearer lines. If the surface is not properly prepared, the transfer medium may not adhere correctly, leading to smudged or blurred lines.
Method 1: Tracing Paper Transfer
Step-by-step instructions for using tracing paper to transfer a drawing onto ceramic
- Start by selecting a tracing paper that is thin and translucent.
- Place the tracing paper over your drawing and secure it in place.
- Use a pencil or pen to trace the drawing onto the tracing paper, applying enough pressure to transfer the image onto the paper.
- Carefully place the traced image onto the ceramic surface, making sure it is aligned correctly.
- Use a pencil or pen to trace over the lines of the image, transferring them onto the ceramic surface.
Advantages and disadvantages of using tracing paper for drawing transfer Tracing paper is a simple and straightforward method for transferring drawings onto ceramic. It is easy to use and produces clear and accurate lines. However, it can be time-consuming, especially if the artist is working on a large piece or multiple pieces. The tracing paper can also be a bit fragile and may tear or wrinkle if not handled carefully.
Method 2: Carbon Paper Transfer
Step-by-step instructions for using carbon paper to transfer a drawing onto ceramic
- Start by selecting a carbon paper that is suitable for use on ceramic surfaces.
- Place the carbon paper between the drawing and the ceramic surface, with the carbon side facing the ceramic.
- Use a pencil or pen to trace the drawing, applying enough pressure to transfer the image onto the ceramic.
- Carefully remove the carbon paper, revealing the transferred image on the ceramic surface.
Advantages and disadvantages of using carbon paper for drawing transfer Carbon paper is a faster method than tracing paper and it can be used for multiple transfers. However, it can produce smudged lines if too much pressure is applied or if the carbon paper is not aligned correctly. Carbon paper also leaves a residue on the surface of the ceramic that needs to be cleaned before firing.
Method 3: Direct Transfer
Step-by-step instructions for using the direct transfer method for transferring a drawing onto ceramic
- Start by printing or drawing your design onto a plain white paper.
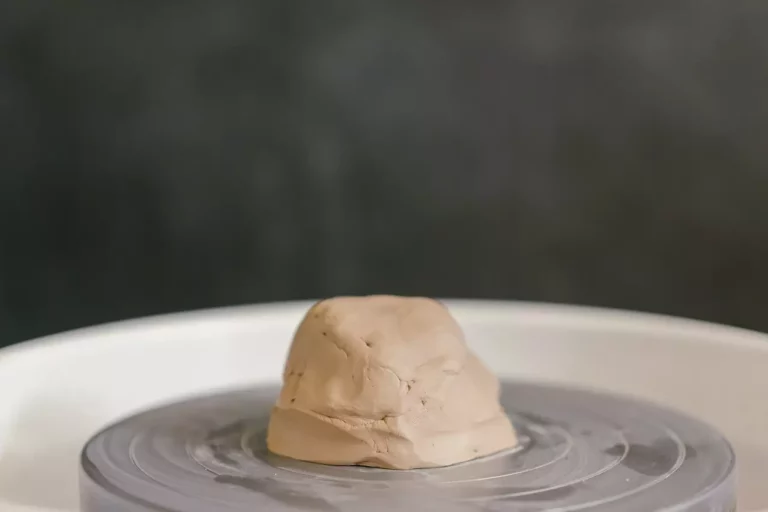
- Apply a thin layer of liquid clay or slip onto the surface of the ceramic.
- Place the paper design onto the wet clay or slip and press firmly to transfer the design onto the ceramic.
- Carefully remove the paper, revealing the transferred image on the ceramic surface.
Advantages and disadvantages of using direct transfer method The direct transfer method allows for more precise and intricate designs to be transferred onto the ceramic surface. It also eliminates the need for additional transfer materials like tracing paper or carbon paper. However, it can be a bit messier than the other methods and may require more skill to achieve a clean transfer. Additionally, the ceramic piece will need to be bisque fired before glaze firing, which may not be desired if the piece is intended to be functional.
Tips and Tricks for Successful Drawing Transfer
Tips for achieving crisp, clean lines when transferring a drawing onto ceramic
- Use a sharp pencil or pen to trace the image
- Make sure the surface is clean and free of any debris before transferring the image
- Take your time and be patient when tracing the image
- Use a light touch when tracing to avoid smudging or blurring the lines.
Tricks for dealing with common issues that can arise during the drawing transfer process
- To avoid tearing or wrinkling the tracing paper, try using a translucent, wax-based transfer paper
- To avoid smudging or blurring the lines when using carbon paper, use a light touch and make sure the carbon paper is aligned correctly
- To avoid smudging or blurring the lines when using direct transfer method, make sure the liquid clay or slip is thin and even
- To fix any mistakes or smudges on the transferred image, use a fine-tip brush and water to gently erase or adjust the lines before the piece is fired.
Recap of key points In this article, we have discussed the importance of transferring drawings onto ceramic, and have provided an overview of the different methods for doing so, including tracing paper transfer, carbon paper transfer, and direct transfer. We have also provided tips and tricks for achieving successful drawing transfer and dealing with common issues that may arise during the process.
Future developments As technology advances, new methods for transferring drawings onto ceramic may become available. It’s important for artists and potters to stay informed of new developments and to be willing to experiment with new techniques to achieve their desired results.
Encourage readers to try transferring a drawing onto ceramic Transferring a drawing onto ceramic can be a fun and rewarding experience for both beginners and experienced artists. We encourage readers to try experimenting with different methods and techniques to find the one that works best for them.
How to Transfer a Design onto Your Pottery – Pottery Tutorial
How Do You Transfer a Drawing to Ceramic?
When it comes to transferring a drawing to ceramic, there are a few different methods that you can use. One popular method is using carbon paper. This involves placing the carbon paper underneath your drawing and then tracing over the top of it with a pen or pencil.
The pressure from the pen or pencil will transfer the image onto the ceramic piece. Another common method is using transfer tape. This involves printing out your design onto the transfer tape and then placing it onto the ceramic piece.
Once again, you will need to trace over the top of the design with a pen or pencil in order to transfer the image.
How Do You Transfer a Design to Pottery?
There are a few ways to transfer a design to pottery. One way is to use tracing paper. Tracing paper is see-through, so you can trace your design onto it and then place it onto your clay piece.
Another way is to use carbon paper. Carbon paper is placed between your design and the clay piece, and when you trace over your design, the carbon transfers the image onto the clay. You can also freehand your design onto the clay.
This method is best for simple designs or if you’re an experienced artist. If you want to get more detailed with your design, you can use a stencil. Stencils are usually made out of thin plastic or metal, and they have small holes cut out in the shape of your desired image.
How Do I Transfer a Design from Paper to Clay?
When it comes to transferring a design from paper to clay, there are a few different methods that you can use in order to get the job done. Here is a look at some of the most popular methods for doing so:
1. Use tracing paper: This is probably the easiest and most common method for transferring a design onto clay. Simply trace your design onto tracing paper and then use an awl or other sharp tool to pierce through the tracing paper and into the clay beneath. This will leave an imprint of your design on the clay that you can then follow when carving or sculpting.
2. Use carbon paper: Another popular method for transferring designs onto clay is to use carbon paper. This works in much the same way as tracing paper, except you will need to place the carbon paper face-down on top of your clay before tracing your design onto it. Again, use an awl or other sharp tool to pierce through both the carbon paper and clay beneath, leaving an imprint of your design on the latter.
3. Freehand it: If you’re feeling confident, you could always try freehanding your design directly onto the clay itself. This obviously requires a bit more skill than using either tracing paper or carbon paper, but can be very effective if done correctly. Just take your time and don’t be afraid to practice beforehand on some scrap pieces of clay first!
How Do You Transfer a Design Onto Tile?
There are a few ways to do this, but the most common is to use carbon paper. First, you will need to clean the tile surface with a mild soap and water solution. Then, lay your carbon paper down on the tile and trace over your design with a pencil.
The pressure from the pencil will transfer the design onto the tile. Once you have finished tracing, remove the carbon paper and check to see if your design has transferred. If it has not, you can try again or use another method.

Credit: www.pinterest.com
How to Transfer a Drawing Onto Clay
If you’re interested in trying your hand at clay sculpture, one of the first things you’ll need to learn is how to transfer a drawing onto clay. This process is actually quite simple, and once you’ve mastered it you’ll be able to create any kind of sculpture you can imagine. Here’s a step-by-step guide to help you get started:
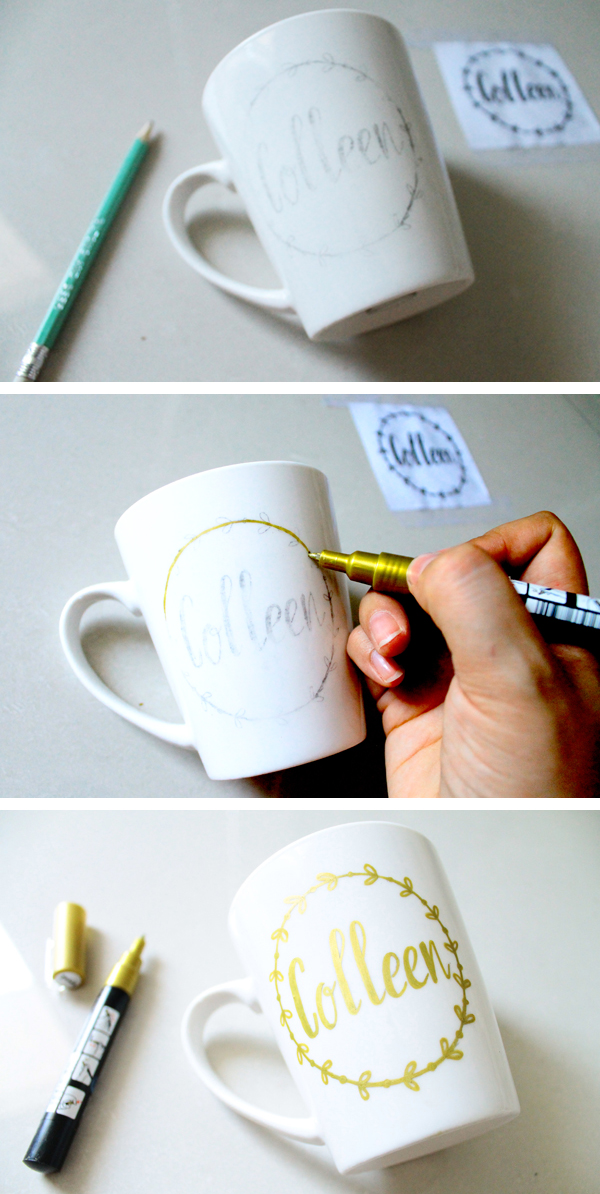
1. Begin by sketching out your design on paper. Once you have a basic idea of what you want to create, trace your drawing onto tracing paper.
2. Place the tracing paper face-down onto a sheet of wet clay. Use a pencil or other sharp object to gently trace over your design, transferring the image onto the clay surface.

3. Allow the clay to dry completely before proceeding to the next step. Once it’s dry, use a sharp knife or carving tool to cut away any excess clay around your design.
4. Your drawing is now transferred onto the clay surface and ready to be worked on! You can start sculpting away, adding details and texture as desired. Remember to take your time and enjoy the process – there’s no rush in creating art.
Conclusion
This blog post provides a detailed tutorial on how to transfer a drawing onto ceramic. The author begins by providing an overview of the materials and supplies needed for this project, including a list of specific brands and products that they recommend. Next, they walk through the step-by-step process of how to create a transferable drawing, from preparing the surface of the ceramic to applying the drawing and finally sealing it.
Throughout the tutorial, the author includes helpful tips and tricks for getting optimal results.