How I Make Ceramics At Home
Have you ever marveled at the beauty and craftsmanship of ceramic art pieces and wondered how they are made? Creating ceramics at home can be a rewarding and fulfilling experience.
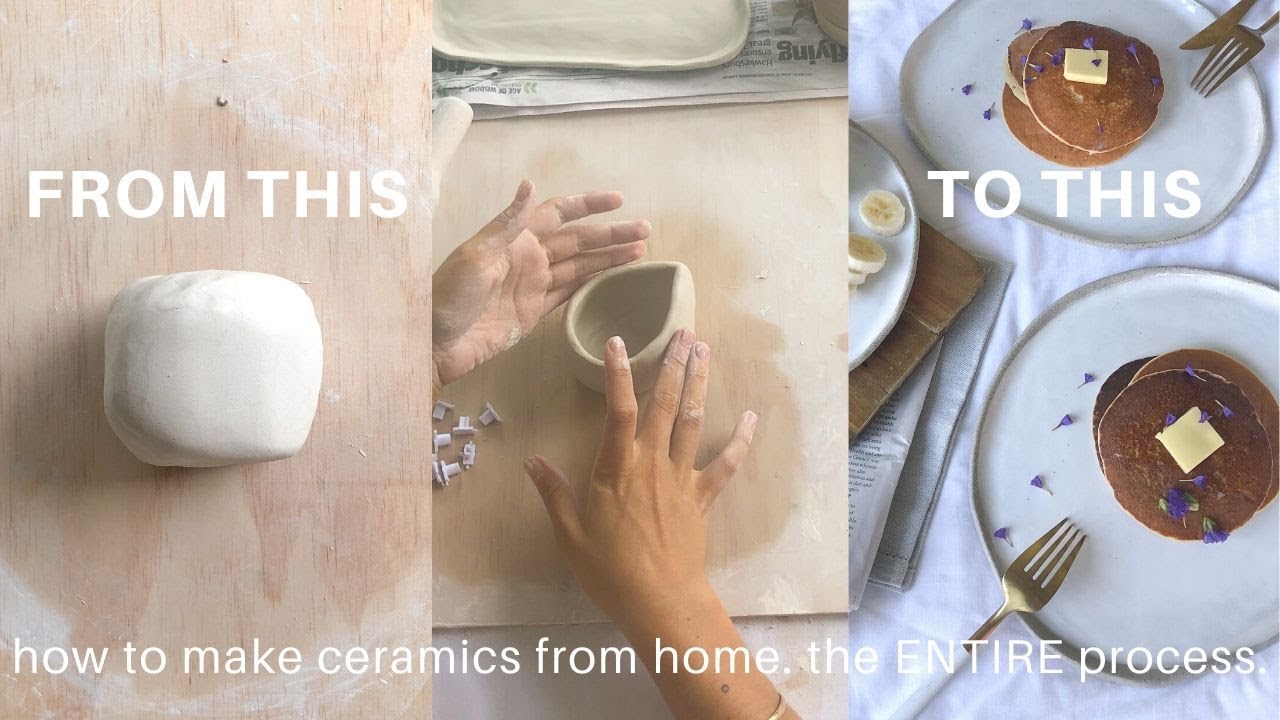
In this article, I will guide you through the process of making ceramics in the comfort of your own home. Whether you are a beginner or have some experience, this step-by-step guide will help you unleash your creativity and produce stunning ceramic pieces.
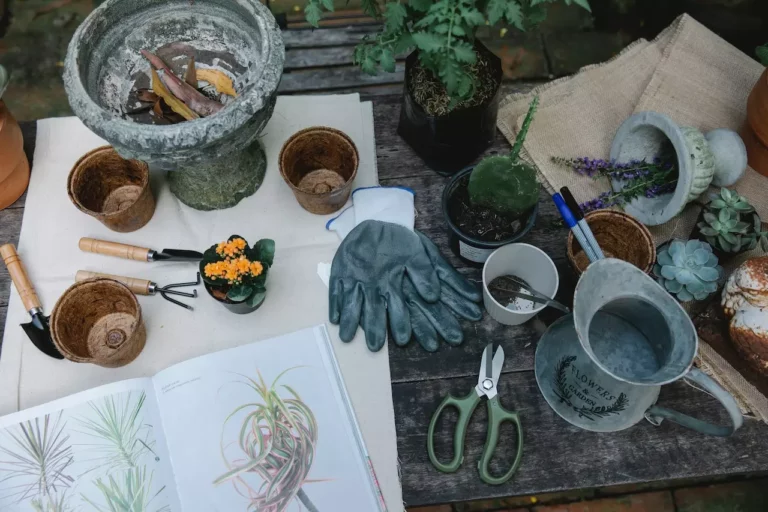
Gathering the necessary materials and tools
Before you begin your ceramic journey, it’s essential to gather the materials and tools you’ll need. Some of the basic supplies include clay, a pottery wheel (optional), sculpting tools, a rolling pin, a kiln, glazes, brushes, and a worktable. These materials can be easily purchased from art supply stores or online retailers specializing in ceramics.
Preparing the clay
The first step in making ceramics is preparing the clay. Depending on the type of clay you choose, you may need to knead it to remove air bubbles and make it pliable. It’s crucial to follow the instructions provided with the clay and ensure that it is properly prepared before moving on to the next steps.
Shaping the ceramic piece
Once the clay is ready, it’s time to shape your ceramic piece. You can use various techniques such as hand-building, where you shape the clay with your hands and sculpting tools, or wheel throwing if you have a pottery wheel. The choice of technique depends on your preference and the type of ceramic piece you want to create.
Adding decorative elements
To add a personal touch to your ceramics, consider incorporating decorative elements. You can use different tools to create textures, carve intricate designs, or attach additional clay pieces to enhance the aesthetic appeal of your artwork. Let your imagination run wild and experiment with various techniques to create unique and eye-catching designs.
Drying the ceramic piece
Once you have shaped and decorated your ceramic piece, it needs to be dried thoroughly. This process allows the clay to harden and prepare it for the firing stage. Place your piece in a dry and well-ventilated area, ensuring that all sides receive equal airflow. Be patient during this stage, as rushing the drying process can lead to cracks or deformities in the clay.
Firing the ceramic piece
Firing is a critical step in the ceramics-making process. It involves subjecting the dried clay piece to high temperatures in a kiln to transform it into a durable and long-lasting ceramic object. It’s essential to carefully follow the firing instructions provided by the manufacturer to ensure optimal results. The firing process can take several hours or even days, depending on the size and thickness of your ceramic piece.
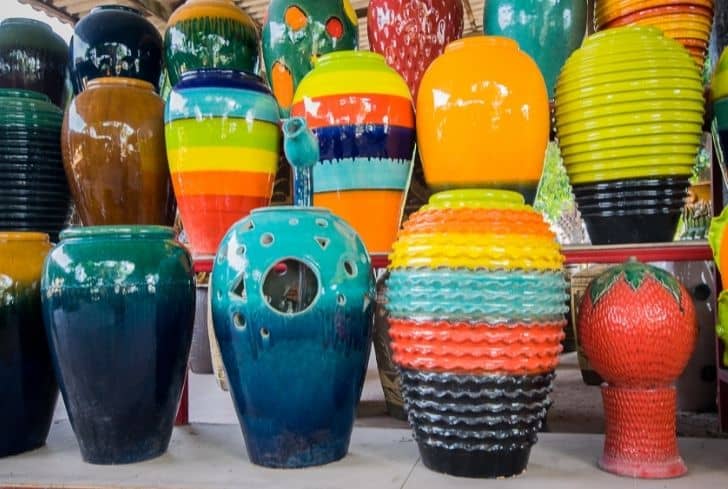
Glazing and decorating the ceramic piece
After the first firing, your ceramic piece is ready for glazing and decorating. Glazes add color, texture, and a protective layer to the ceramic surface. There are various types of glazes available, such as glossy, matte, or textured. Apply the glaze using brushes or dipping techniques, following the specific instructions for the chosen glaze. Once the glaze is applied, your piece is ready for the final firing.
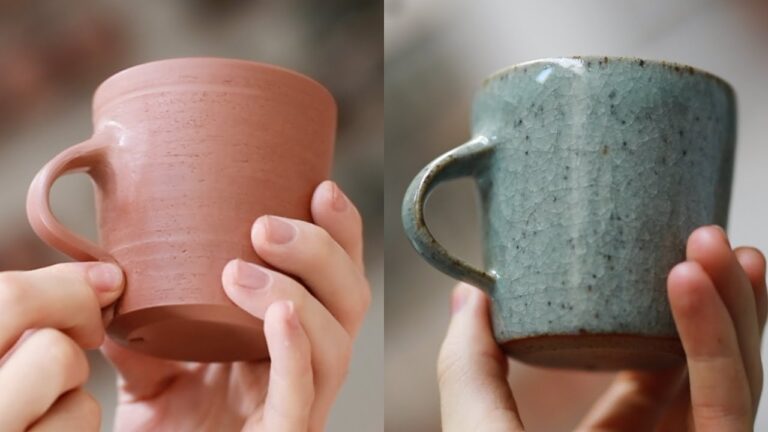
Finalizing the ceramic piece
The final firing completes the ceramic-making process. The high temperatures in the kiln cause the glaze to melt and bond with the clay, creating a beautiful and finished ceramic piece. Once the firing is complete, allow the piece to cool down gradually inside the kiln before removing it. Take a moment to appreciate the transformation of the clay into a stunning work of art.
Caring for and displaying your homemade ceramics
To ensure the longevity of your homemade ceramics, it’s important to care for them properly. Avoid exposing them to extreme temperature changes, as this can cause cracks or breakage. Regularly dust and clean your ceramic pieces with a soft cloth or a mild soap solution. When displaying your ceramics, consider using stands or shelves that showcase their beauty while keeping them secure.
Tips for beginners
If you’re new to ceramics, here are some helpful tips to get started:
- Start with simple projects to gain confidence and practice your skills.
- Experiment with different types of clay and glazes to discover your preferences.
- Join a local ceramics class or workshop to learn from experienced artists and expand your knowledge.
- Don’t be afraid to make mistakes. Learning from failures is an integral part of the creative process.
- Practice patience and be prepared for the time-consuming nature of ceramics.
Safety precautions while working with ceramics
Working with ceramics involves certain risks, so it’s crucial to prioritize safety. Wear protective gear such as gloves and a mask to prevent exposure to potentially harmful materials. Ensure proper ventilation in your workspace to minimize the inhalation of dust and fumes. Follow the manufacturer’s instructions for the safe use of equipment and materials. Additionally, be cautious while handling sharp tools to avoid accidents.
Exploring different ceramic techniques
The world of ceramics offers a wide range of techniques to explore. Besides hand-building and wheel throwing, you can experiment with techniques like slip casting, slab building, or even Raku firing. Each technique presents its own challenges and possibilities, allowing you to continuously learn and expand your skills as a ceramic artist.
Benefits of making ceramics at home
Making ceramics at home brings numerous benefits beyond the joy of creating art. It provides a therapeutic and meditative experience, allowing you to relax and express yourself creatively. Crafting ceramics also encourages mindfulness, as you focus on the tactile sensations and intricate details of the clay. Furthermore, it offers a sense of accomplishment and pride when you see your finished pieces displayed or gifted to others.

FAQs
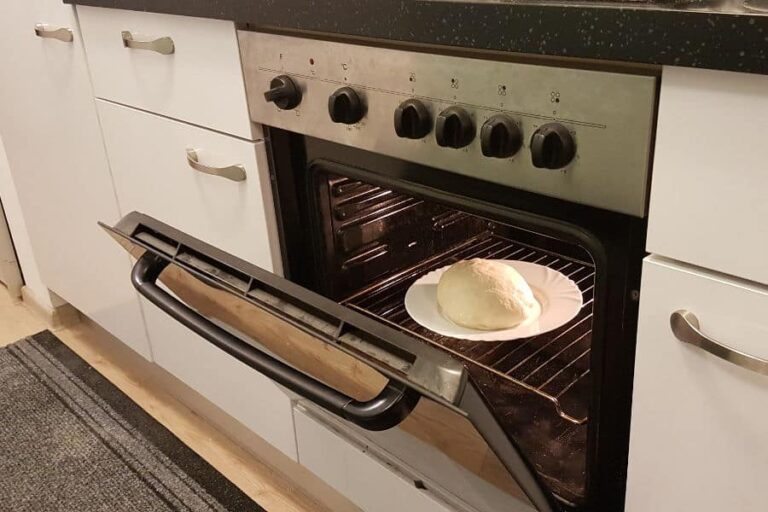
1. Can I make ceramics at home without a kiln?
Yes, it is possible to make ceramics at home without a kiln. One alternative method is air-drying clay, which doesn’t require firing in a kiln. Air-dry clay hardens naturally over time through exposure to air. However, it’s important to note that air-dry clay may not achieve the same level of durability and strength as kiln-fired ceramics.
2. How long does it take to learn ceramics?
The time it takes to learn ceramics varies depending on individual dedication, practice, and the complexity of the techniques you wish to master. For basic hand-building and wheel throwing techniques, it’s possible to develop a solid foundation within a few months of consistent practice. However, becoming proficient and skilled in ceramics is a lifelong journey that involves continuous learning and experimentation.
3. What type of clay is best for beginners?
For beginners, it is recommended to start with a clay that is easy to work with and forgiving. One popular option is earthenware clay, which is known for its pliability and low firing temperatures. Earthenware clay is suitable for both hand-building and wheel throwing and allows beginners to practice and experiment without the added complexity of high-temperature firing.
4. Can I reuse clay scraps or leftover clay?
Absolutely! Clay scraps and leftover clay can be reused, reducing waste and saving costs. To reuse clay, you can gather the scraps, moisten them with water, and knead them together to create a workable clay consistency. It’s important to remove any impurities or foreign objects from the clay before reuse. By recycling clay, you can maintain a sustainable ceramics practice and maximize your available materials.
5. Is it safe to eat or drink from homemade ceramic dishes?
Yes, it is safe to eat or drink from homemade ceramic dishes, provided they are made and fired properly. When using food-safe glazes and following recommended firing temperatures, ceramics can be non-toxic and safe for food and beverages. However, it’s crucial to ensure that the glazes used are labeled food-safe and that the ceramics are fired to the appropriate temperature to create a vitrified surface that is resistant to bacteria and easy to clean.
Conclusion
Making ceramics at home is a captivating and rewarding journey that allows you to unleash your creativity and create stunning art pieces. With the right materials, tools, and techniques, you can turn clay into beautiful ceramics that reflect your unique style and personality. Embrace the process, learn from your experiences, and enjoy the satisfaction of bringing your artistic visions to life.