Pottery for Beginners: Tips and Tricks for Getting Started
Pottery is a timeless and beloved art form that has been around for thousands of years. Whether you are a complete beginner or have some experience, pottery can be a fun and rewarding hobby. In this article, we will explore the topic of pottery for beginners, providing tips and tricks to help you get started.
Pottery Tips and Tricks for Beginners
Explanation of the topic of pottery for beginners
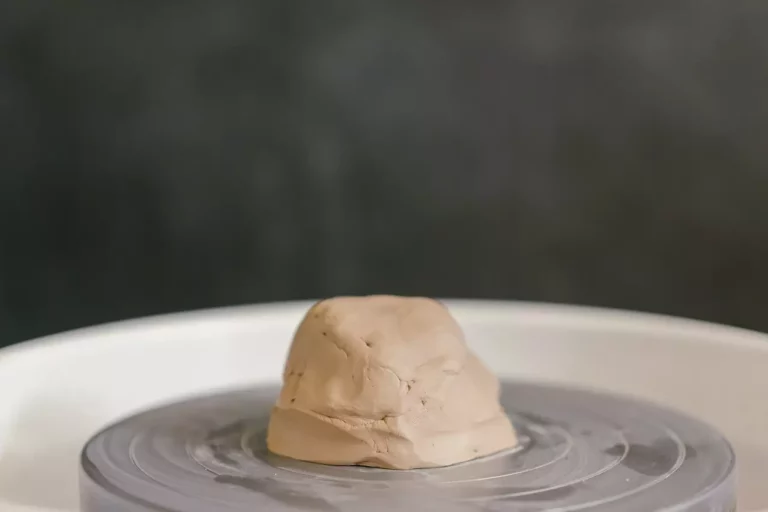
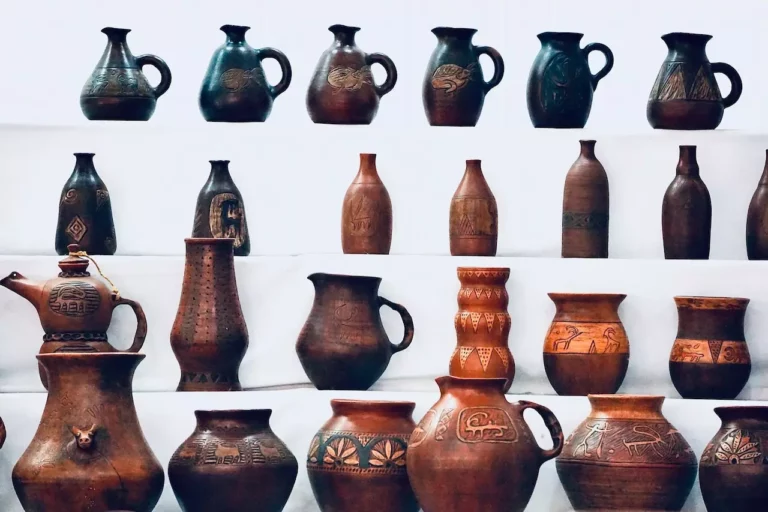
Pottery is the art of creating objects from clay, typically by shaping and then firing them. Pottery can be created using a variety of techniques, including hand-building and wheel-throwing. While pottery has been around for thousands of years, it is still a popular hobby today.
Overview of the benefits of pottery as a hobby
Pottery can offer many benefits for beginners. Some of the benefits include:
- Relaxation: Pottery can be a meditative and relaxing hobby, providing a sense of calm and tranquility.
- Creativity: Pottery allows you to express your creativity and imagination, giving you the freedom to create whatever you want.
- Sense of accomplishment: The process of creating a piece of pottery from start to finish can be very rewarding, providing a sense of accomplishment.
- Stress-relief: Pottery can be a form of therapy and can help to reduce stress and anxiety.
- Sense of community: Pottery is a social hobby and can be a great way to connect with others who share your interest.
Overall, pottery is a fun and fulfilling hobby that can offer many benefits. In the following sections, we will discuss the equipment and tools needed to get started, as well as techniques for hand-building and wheel-throwing, glazing and firing, and tips for beginners.
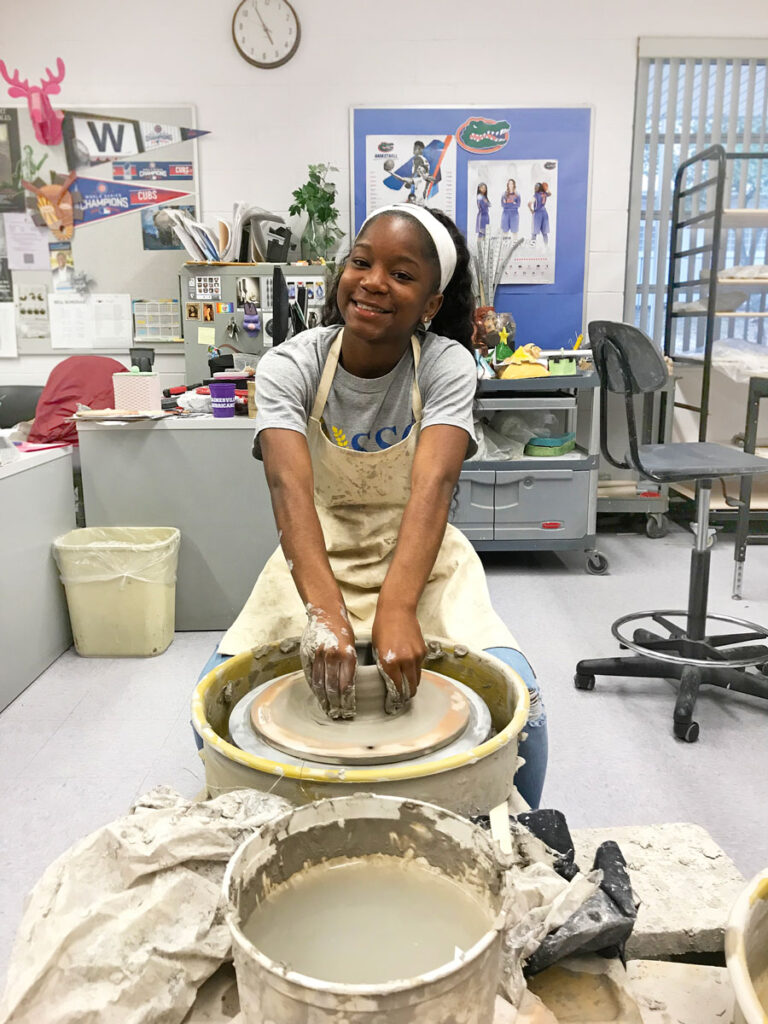
Equipment and Tools
When starting out with pottery, it’s important to have the right equipment and tools. In this section, we will discuss the basic equipment and tools needed to get started with pottery, where to purchase them, and tips on how to choose the right equipment and tools for your needs.
Description of the basic equipment and tools needed to get started with pottery
The basic equipment and tools needed to get started with pottery include:
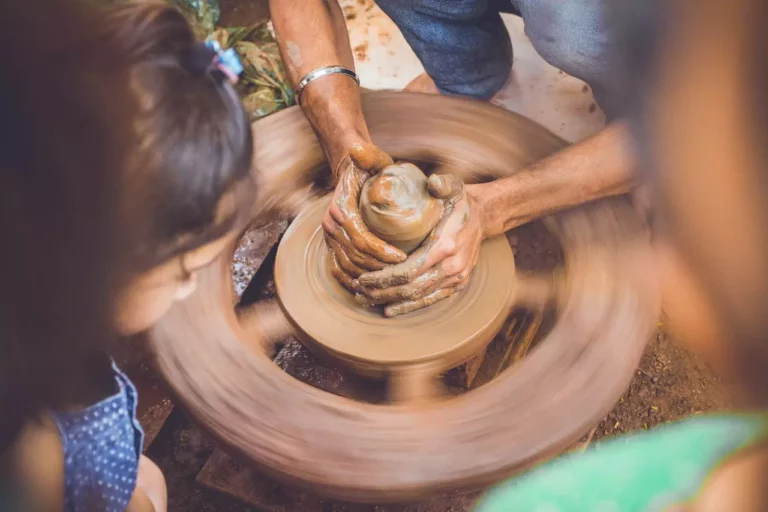
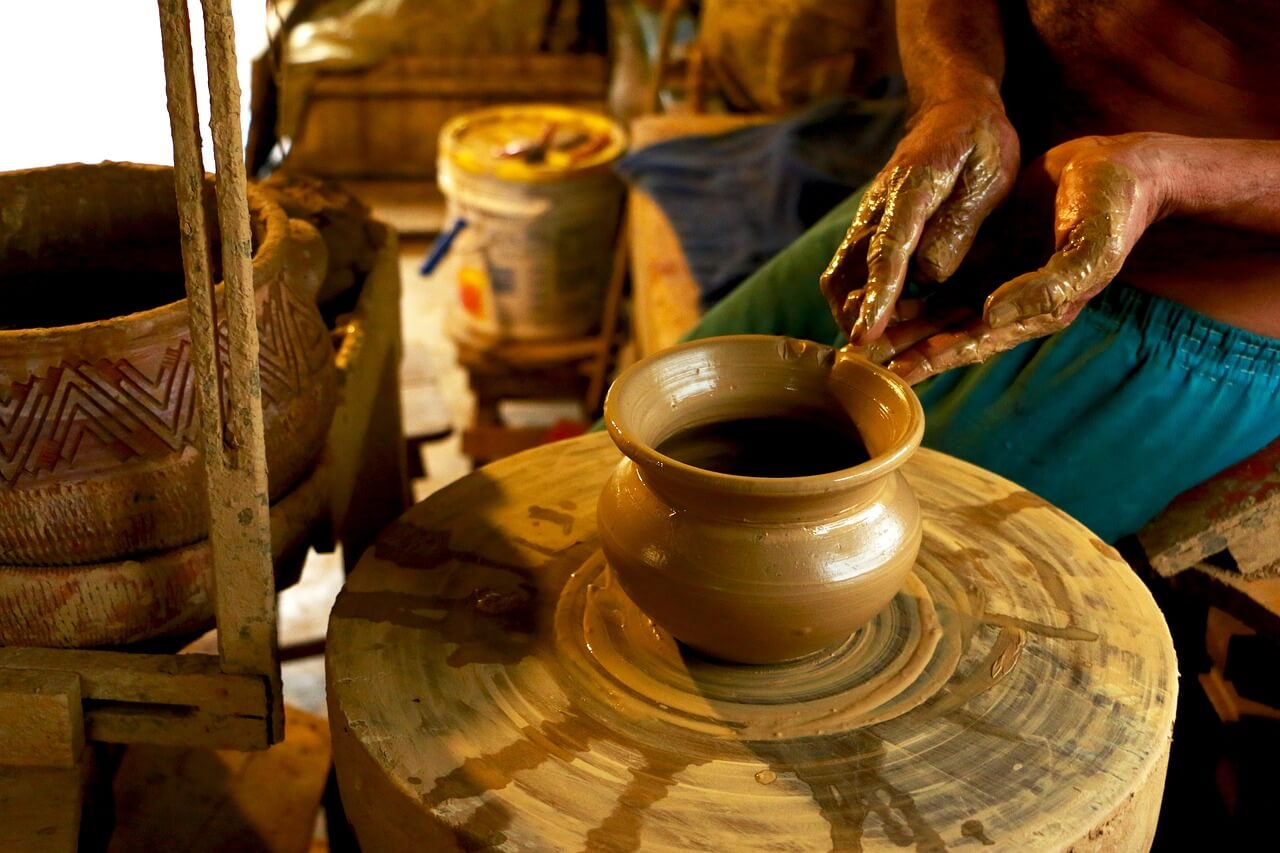
- Pottery wheel: A pottery wheel is used for throwing clay. It is a round, spinning surface that allows you to shape and form clay into different shapes.
- Clay: Clay is the basic material used to make pottery. It is available in different types, including porcelain, stoneware, and earthenware.
- Kiln: A kiln is used for firing pottery. It is a heat-resistant oven that is used to harden and strengthen the clay.
- Clay tools: Clay tools are used to shape and form clay. They include a variety of tools such as ribbons, sponges, needles, and knives.
- Glaze: Glaze is a glassy coating that is applied to pottery to give it a smooth and glossy finish.
Information on where to purchase equipment and tools
Equipment and tools can be purchased from a variety of places, including:
- Pottery supply stores: These stores specialize in selling equipment and tools for pottery. They often have a wide variety of equipment and tools available, as well as knowledgeable staff who can provide guidance and advice.
- Online retailers: Many online retailers sell equipment and tools for pottery, including Amazon, Etsy, and many other craft supply stores.
- Local craft stores: Some local craft stores may carry equipment and tools for pottery, although the selection may be more limited than at a dedicated pottery supply store.
Tips on how to choose the right equipment and tools for your needs
When choosing equipment and tools for pottery, it’s important to consider your needs and budget. Some tips to keep in mind include:
- Start with the basics: When you’re first starting out, it’s best to stick with the basic equipment and tools. As you become more experienced, you can then add more specialized equipment and tools to your collection.
- Consider your budget: Pottery equipment and tools can be expensive, so it’s important to consider your budget when making your purchases.
- Do your research: Before making a purchase, do some research to find out which equipment and tools are the best for your needs. Read reviews and ask other potters for advice.
- Quality vs. price: While it can be tempting to purchase the cheapest equipment and tools, it’s important to consider the quality of the item. In the long run, it’s better to invest in high-quality equipment and tools that will last longer and work better.
Techniques for Hand-building
Hand-building is one of the most basic and fundamental techniques of pottery. In this section, we will discuss the basics of hand-building, including an overview of basic hand-building techniques such as pinch, coil, and slab building, step-by-step instructions for each technique, and tips on how to practice and improve your hand-building skills.
Overview of basic hand-building techniques
Hand-building is a technique that involves shaping clay by hand, rather than using a pottery wheel. The three basic hand-building techniques are:
- Pinch: Pinching involves shaping clay by squeezing it between your thumb and fingers. This technique is used to create small, detailed forms.
- Coil: Coiling involves creating a spiral of clay and then shaping it into a form. This technique is used to create larger forms.
- Slab: Slab building involves rolling out clay to a desired thickness and then cutting or shaping it into a form. This technique is used to create flat forms, such as plates and bowls.
Step-by-step instructions for each technique
Here are the basic steps for each hand-building technique:
-
Pinch:
- Start by rolling a small amount of clay into a ball.
- Hold the ball of clay in one hand and use your thumb and fingers of the other hand to squeeze and shape the clay.
- Continue to pinch and shape the clay until it is the desired form.
-
Coil:
- Start by rolling a small amount of clay into a snake-like shape.
- Coil the snake of clay around itself to create a spiral.
- Use your fingers to shape and smooth the coil.
-
Slab:
- Start by rolling a small amount of clay out to the desired thickness.
- Cut or shape the slab of clay into the desired form.
- Use your fingers to shape and smooth the edges of the slab.
Tips on how to practice and improve your hand-building skills
Here are some tips to help you practice and improve your hand-building skills:
- Practice regularly: The more you practice, the better you will become. Set aside some time each week to work on hand-building.
- Start with simple forms: When you’re first starting out, it’s best to stick with simple forms, such as bowls or cups. As you become more experienced, you can move on to more complex forms.
- Use different types of clay: Experiment with different types of clay, such as porcelain, stoneware, and earthenware, to see which one you prefer.
- Keep a sketchbook: Sketching out your ideas before you start building can help you visualize the final form and plan your building process.
- Take classes or workshops: Taking a class or workshop can be a great way to learn new techniques and get feedback on your work.
Hand-building is a fun and rewarding technique that can be enjoyed by potters of all levels. With regular practice and a willingness to experiment, anyone can improve their hand-building skills.
Glazing and Firing
Glazing and firing are two essential steps in the pottery-making process. In this section, we will discuss the glazing process, including the types of glazes available, how to properly glaze your pottery, the firing process, the types of kilns available, and tips on how to properly fire your pottery.
Explanation of the glazing process and the types of glazes available
Glazing is the process of applying a glassy coating to the surface of pottery. Glazes are made up of various ingredients, including silica, alumina, and fluxes, which are melted together at high temperatures to create a smooth and glossy surface. There are many types of glazes available, including:

- Cone 6 glazes: These glazes are designed to be fired at a temperature of about 2232F (1222C), which is commonly used in electric kilns.
- Cone 10 glazes: These glazes are designed to be fired at a temperature of about 2372F (1307C), which is commonly used in gas kilns.
- Low-fire glazes: These glazes are designed to be fired at a lower temperature, around 1832F (1000C).
- Lead-free glazes: These glazes are formulated without lead and are considered to be safer and more environmentally friendly.
Information on how to properly glaze your pottery
Here are the basic steps for glazing your pottery:
- Clean the pottery: Make sure that the pottery is clean and free of any dust or debris before glazing.
- Mix the glaze: Follow the manufacturer’s instructions to mix the glaze. Be sure to mix it well to ensure a consistent application.
- Apply the glaze: Use a brush or a sponge to apply the glaze to the surface of the pottery. Be sure to apply the glaze evenly, being careful not to leave any thick or thin spots.
- Dry the glaze: Allow the glaze to dry completely before firing.
- Apply a second coat of glaze (if desired): Some pottery may require a second coat of glaze to achieve the desired effect. Repeat the glazing process, and make sure that the glaze is dry before firing.
Overview of the firing process and the types of kilns available
Firing is the process of hardening and strengthening the clay by exposing it to high temperatures. There are two main types of kilns available for firing pottery: electric and gas.
- Electric kilns: Electric kilns are powered by electricity and are widely used for pottery. They are easy to use and maintain, and are available in a variety of sizes.
- Gas kilns: Gas kilns are powered by gas, and are often used by professional potters. They can reach higher temperatures than electric kilns, and can create a wider range of effects on the pottery.
Tips on how to properly fire your pottery
Here are some tips to help you properly fire your pottery:
- Follow the manufacturer’s instructions: Be sure to follow the manufacturer’s instructions when firing your pottery.
- Use the correct temperature: Be sure to fire your pottery at the correct temperature for the type of glaze you are using.
- Use a thermocouple: A thermocouple is a device that measures the temperature inside the kiln. It is important to use a thermocouple to ensure that the pottery is fired at the correct temperature.
- Be patient: Firing pottery can take several hours or even days, depending on the size and type of the kiln and the pottery. Be patient and allow enough time for the firing process to be completed.
- Keep safety in mind: When firing pottery, it’s important to follow safety guidelines to avoid accidents. Make sure that the kiln is properly ventilated and wear protective gear, such as gloves, when handling hot pottery.
Tips for beginners
Starting any new hobby can be overwhelming, but with a few tips and tricks, pottery can be a fun and rewarding experience. In this section, we will discuss general tips and advice for beginners, information on how to find pottery classes or workshops in your area, and resources for further learning and inspiration.
General tips and advice for beginners
- Start with the basics: When you’re first starting out, it’s best to stick with the basic techniques and equipment. As you become more experienced, you can then add more specialized techniques and equipment to your practice.
- Take it slow: Pottery takes time and patience. Don’t expect to create a perfect piece on your first try. It takes time and practice to develop your skills.
- Be open to experimentation: Pottery is all about experimentation. Don’t be afraid to try new techniques and glazes to see what works best for you.
- Be patient: Pottery takes time and patience, whether it’s waiting for your clay to dry or for your piece to fire. Learn to enjoy the process and the journey, not just the final product.
- Join a pottery community: Joining a pottery community, whether it be online or in-person, can be a great way to connect with other potters and get feedback on your work.
Information on how to find pottery classes or workshops in your area
- Community centers: Many community centers offer pottery classes or workshops for all skill levels.
- Adult education centers: Adult education centers often offer pottery classes or workshops as part of their curriculum.
- Art schools: Art schools may offer pottery classes or workshops as part of their curriculum.
- Pottery studios: Some pottery studios offer classes or workshops for all skill levels.
- Online classes: Many online platforms such as Skillshare, Udemy, and Craftsy offer pot tery classes and workshops that you can take from the comfort of your own home.
Resources for further learning and inspiration
- Books: There are many books available on pottery techniques, glaze formulas, and firing techniques. Some popular books include “The Complete Book of Pottery Making” by John Colbeck and “The Potter’s Complete Book of Clay and Glazes” by James Chappell.
- Websites: There are many websites dedicated to pottery, including ceramic arts daily, pottery making info, and pottery techniques. These websites offer a wealth of information on techniques, glaze formulas, and firing techniques.
- YouTube: There are many pottery-related videos on YouTube, including tutorials, demos, and interviews with potters.
- Social media: Instagram, Facebook and other platforms have a great community of potters and ceramic artists, you can follow and get inspiration from them.
Conclusion
Pottery is a fun and rewarding hobby that can be enjoyed by people of all ages and skill levels. In this article, we’ve covered the basics of pottery, including equipment and tools, hand-building techniques, glazing and firing, and tips for beginners.
Summary of the information covered in the article:
- We discussed the basic equipment and tools needed to get started with pottery, where to purchase them, and tips on how to choose the right equipment and tools for your needs.
- We covered the basics of hand-building techniques such as pinch, coil, and slab building, with step-by-step instructions for each technique and tips on how to practice and improve your hand-building skills.
- We explained the glazing process, the types of glazes available, and how to properly glaze your pottery, as well as the firing process and the types of kilns available, and tips on how to properly fire your pottery.
- We provided general tips and advice for beginners, information on how to find pottery classes or workshops in your area, and resources for further learning and inspiration.
Encouragement for beginners to try pottery
Pottery is a wonderful hobby that can be enjoyed by people of all ages and skill levels. It’s a relaxing and meditative process that can help you create beautiful pieces of art. It’s never too late to start, and with the right equipment, techniques, and resources, anyone can get started with pottery. So, don’t be afraid to give it a try and see where it takes you!
Additional resources for pottery beginners
- If you’re looking for more information on pottery for beginners, there are many online resources available such as ceramic arts daily, pottery making info, and pottery techniques. These websites offer a wealth of information on techniques, glaze formulas, and firing techniques.
- Websites like Etsy, Instagram, and Pinterest are great places to find inspiration and see what other potters are creating.
- Consider joining a pottery group or club in your local area to connect with other potters and get feedback on your work.
- Online pottery communities like Facebook groups, Reddit, and forums are a great place to connect with other potters and get advice and inspiration.
- Don’t forget to have fun and enjoy the process of pottery making, the final product is only the cherry on top.
In conclusion, pottery is a fun and rewarding hobby that can be enjoyed by people of all ages and skill levels. With the right equipment, techniques, and resources, anyone can get started with pottery. Remember to take it slow, be patient, and be open to experimentation, and join a pottery community. With practice and dedication, you will be creating beautiful pieces in no time.